The end of summer means all sorts of things: we need to start wearing socks again, 7 am is the new 10 am for breakfast, school and sport schedules begin to rear their ugly heads and wild mushrooms start to make their annual appearance in forests and fields around Bayfield.
Read MoreCookery Maven Blog
New Year, New Ravioli
My success with lasagna noodles emboldened me to try my hand at making ravioli. It was far easier than I expected— it's not much different from making pot stickers or cream cheese puffs.
Read MoreSassy, Sweet & Spicy Goat Cheese Gratin
Remember that classic, old school appetizer with red pepper jelly, a hunk of cream cheese and Ritz crackers? It had all the right components but was seriously deficient in the aesthetic department.
Read MoreRoasted Butternut Squash & Goat Cheese Lasagna
I love everything about fall— the golden light, shorter days, cooler weather and the food, oh the food. Provençal beef stew, roasted chickens, Indian curries, porchetta, bread puddings and lasagna. I've embraced homemade pasta and I have to admit, I enjoy making it. Yes, it's more work than dried pasta but there is something meditative about standing at the counter, rolling and cutting pasta. Forget yoga, I'll take my meditation with a side of lasagna.
Of course, I used Sassy Nanny goat cheese, it melted perfectly into the bechamel and the pecorino added a nice salty tang.
Bacon and caramelized onion rounded out the sauce and added an extra layer of layer that really complemented the rich sauce and roasted squash. Nothing but the best for my freshly made lasagna sheets.
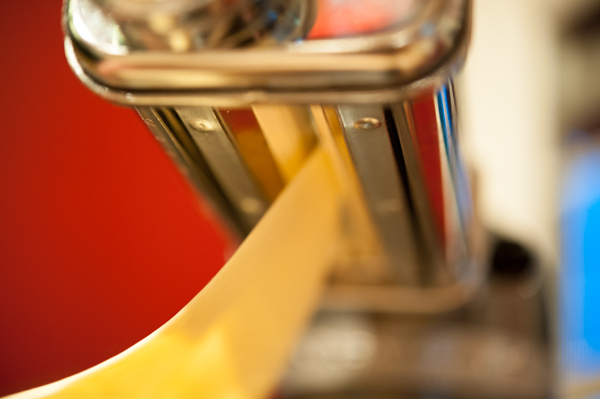
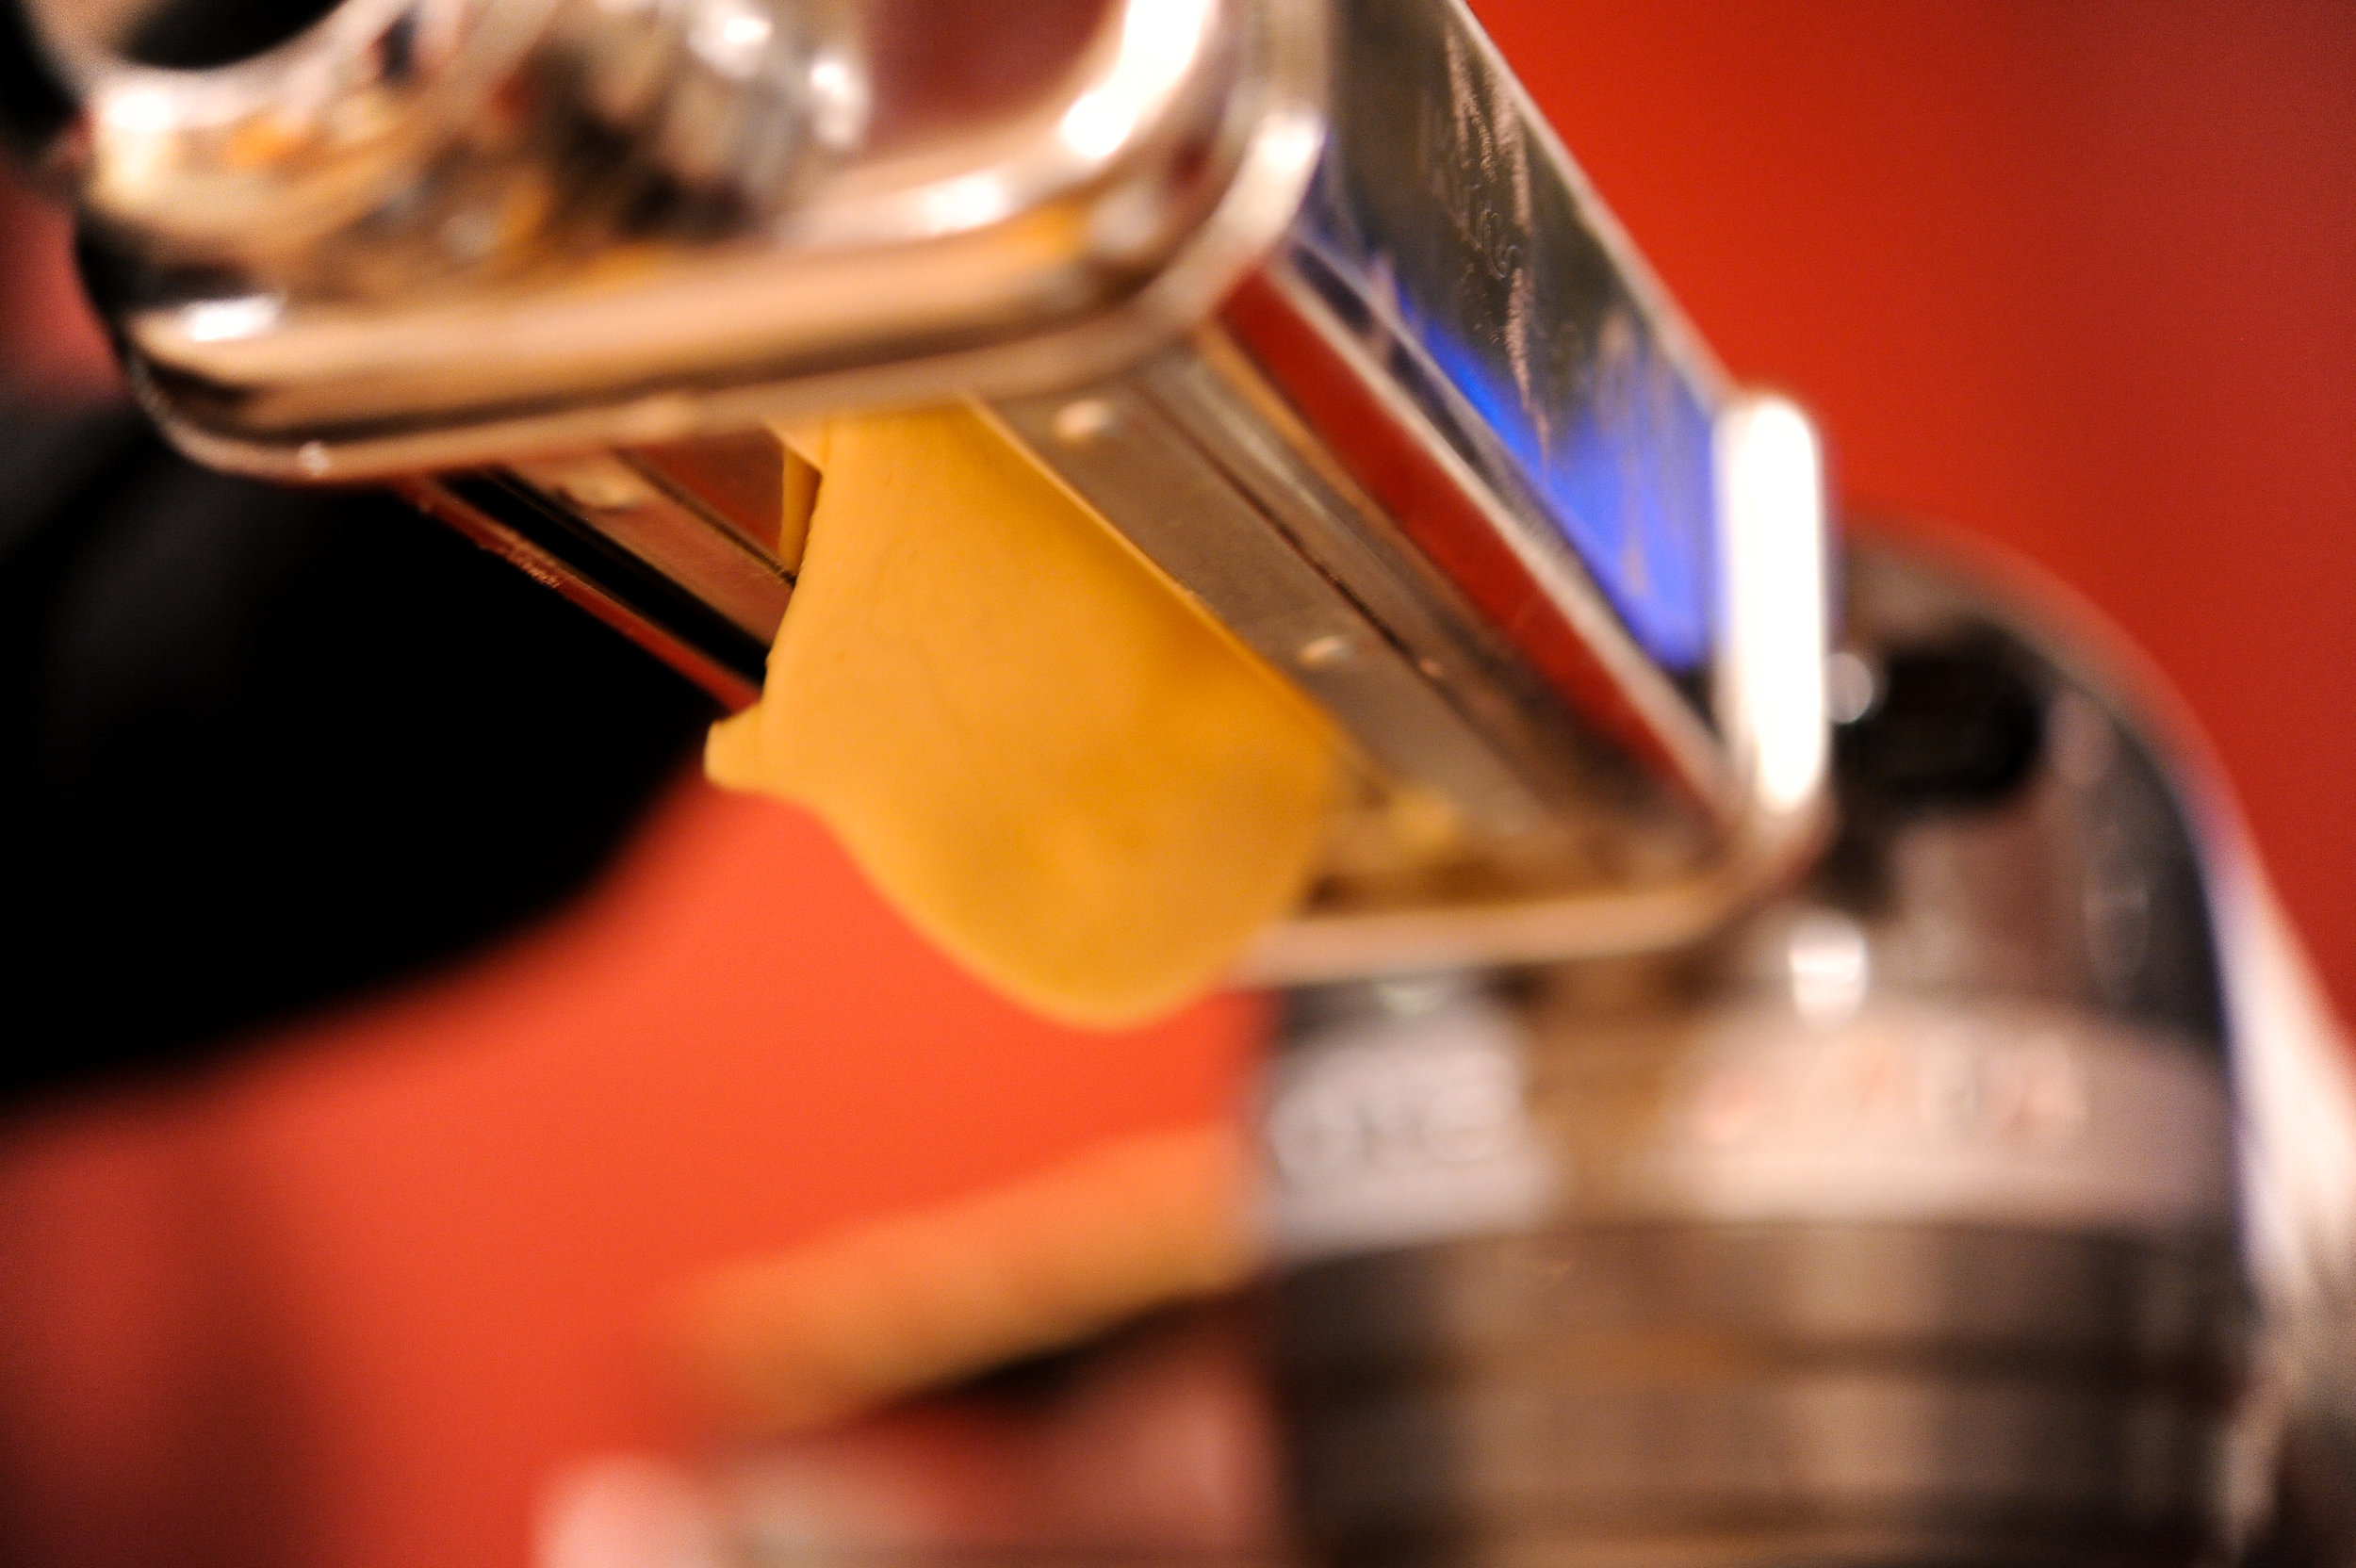
Speaking of lasagna sheets, the transformation of a round piece of dough into a silky ribbon of pasta is magical. I pass the dough through the pasta roller eight times— three times through #1 and then once through # 2 - # 5. I don't go beyond #5 because I like my pasta on the thick side. It's a matter of taste and if you like thin pasta, by all means go to #6 or even #8.
Another tricky part of the fresh pasta process is what do you do with the pasta after it's rolled out but before you are ready to cook it? I don't like to hang it— for some crazy reason, the dogs have a serious thing for fresh pasta and will spend the entire time attempting to leap and snag a mouthful of pasta while I'm busy rolling out the rest of the pasta. Necessity (or badly behaved dogs) being the mother of invention, I coated the sheets in flour and layered them on a sheet tray. One caveat— use lots of flour and dust the sheets evenly. There's nothing worse than a pile of fresh pasta stuck together in a giant mess....it'll make a grown woman weep.
I'm a firm believer in boiling pasta and lasagna noodles are no exception. The no-boil method, at least with fresh pasta, doesn't taste as good. I can taste the raw flour and I prefer the texture of noodles boiled for about a minute (if your sheets are thin, boil them for 30 seconds) prior to assembling the lasagna. An extra 10 minutes yields a superior pan of lasagna, trust me.
Roasted Butternut Squash & Goat Cheese Lasagna (adapted from Fine Cooking)
Lasagna Sheets
2 cups all-purpose flour
2 cups semolina flour (you can substitute all purpose flour if you don't have semolina)
4 large eggs
1 tsp kosher salt
3 tbsp olive oil
1/2 cup water
Lasagna Filling
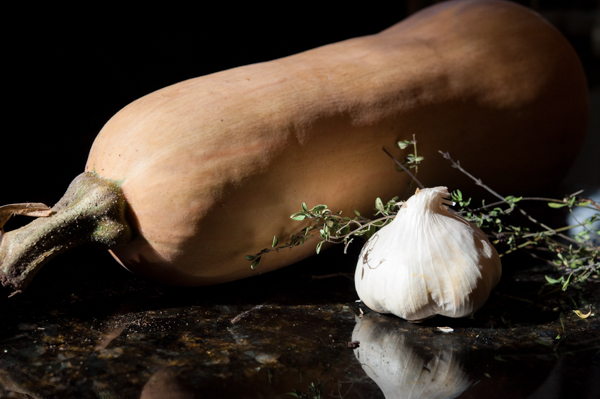
1 large butternut squash (about 3 lb.), halved lengthwise and seeded
10 - 12 medium cloves garlic, unpeeled
2 sprigs fresh thyme plus 2 teaspoons chopped leaves
2 teaspoons extra-virgin olive oil
Kosher salt
Freshly ground black pepper
1 cup bacon, cooked and chopped
1 large yellow onion, sliced
8 tablespoons butter
1/4 cup all-purpose flour
3 cups whole milk
1 1/2 cups fresh goat cheese
1 cup Pecorino Romano, finely grated
1 cup Parmesan, grated
Pasta Preparation
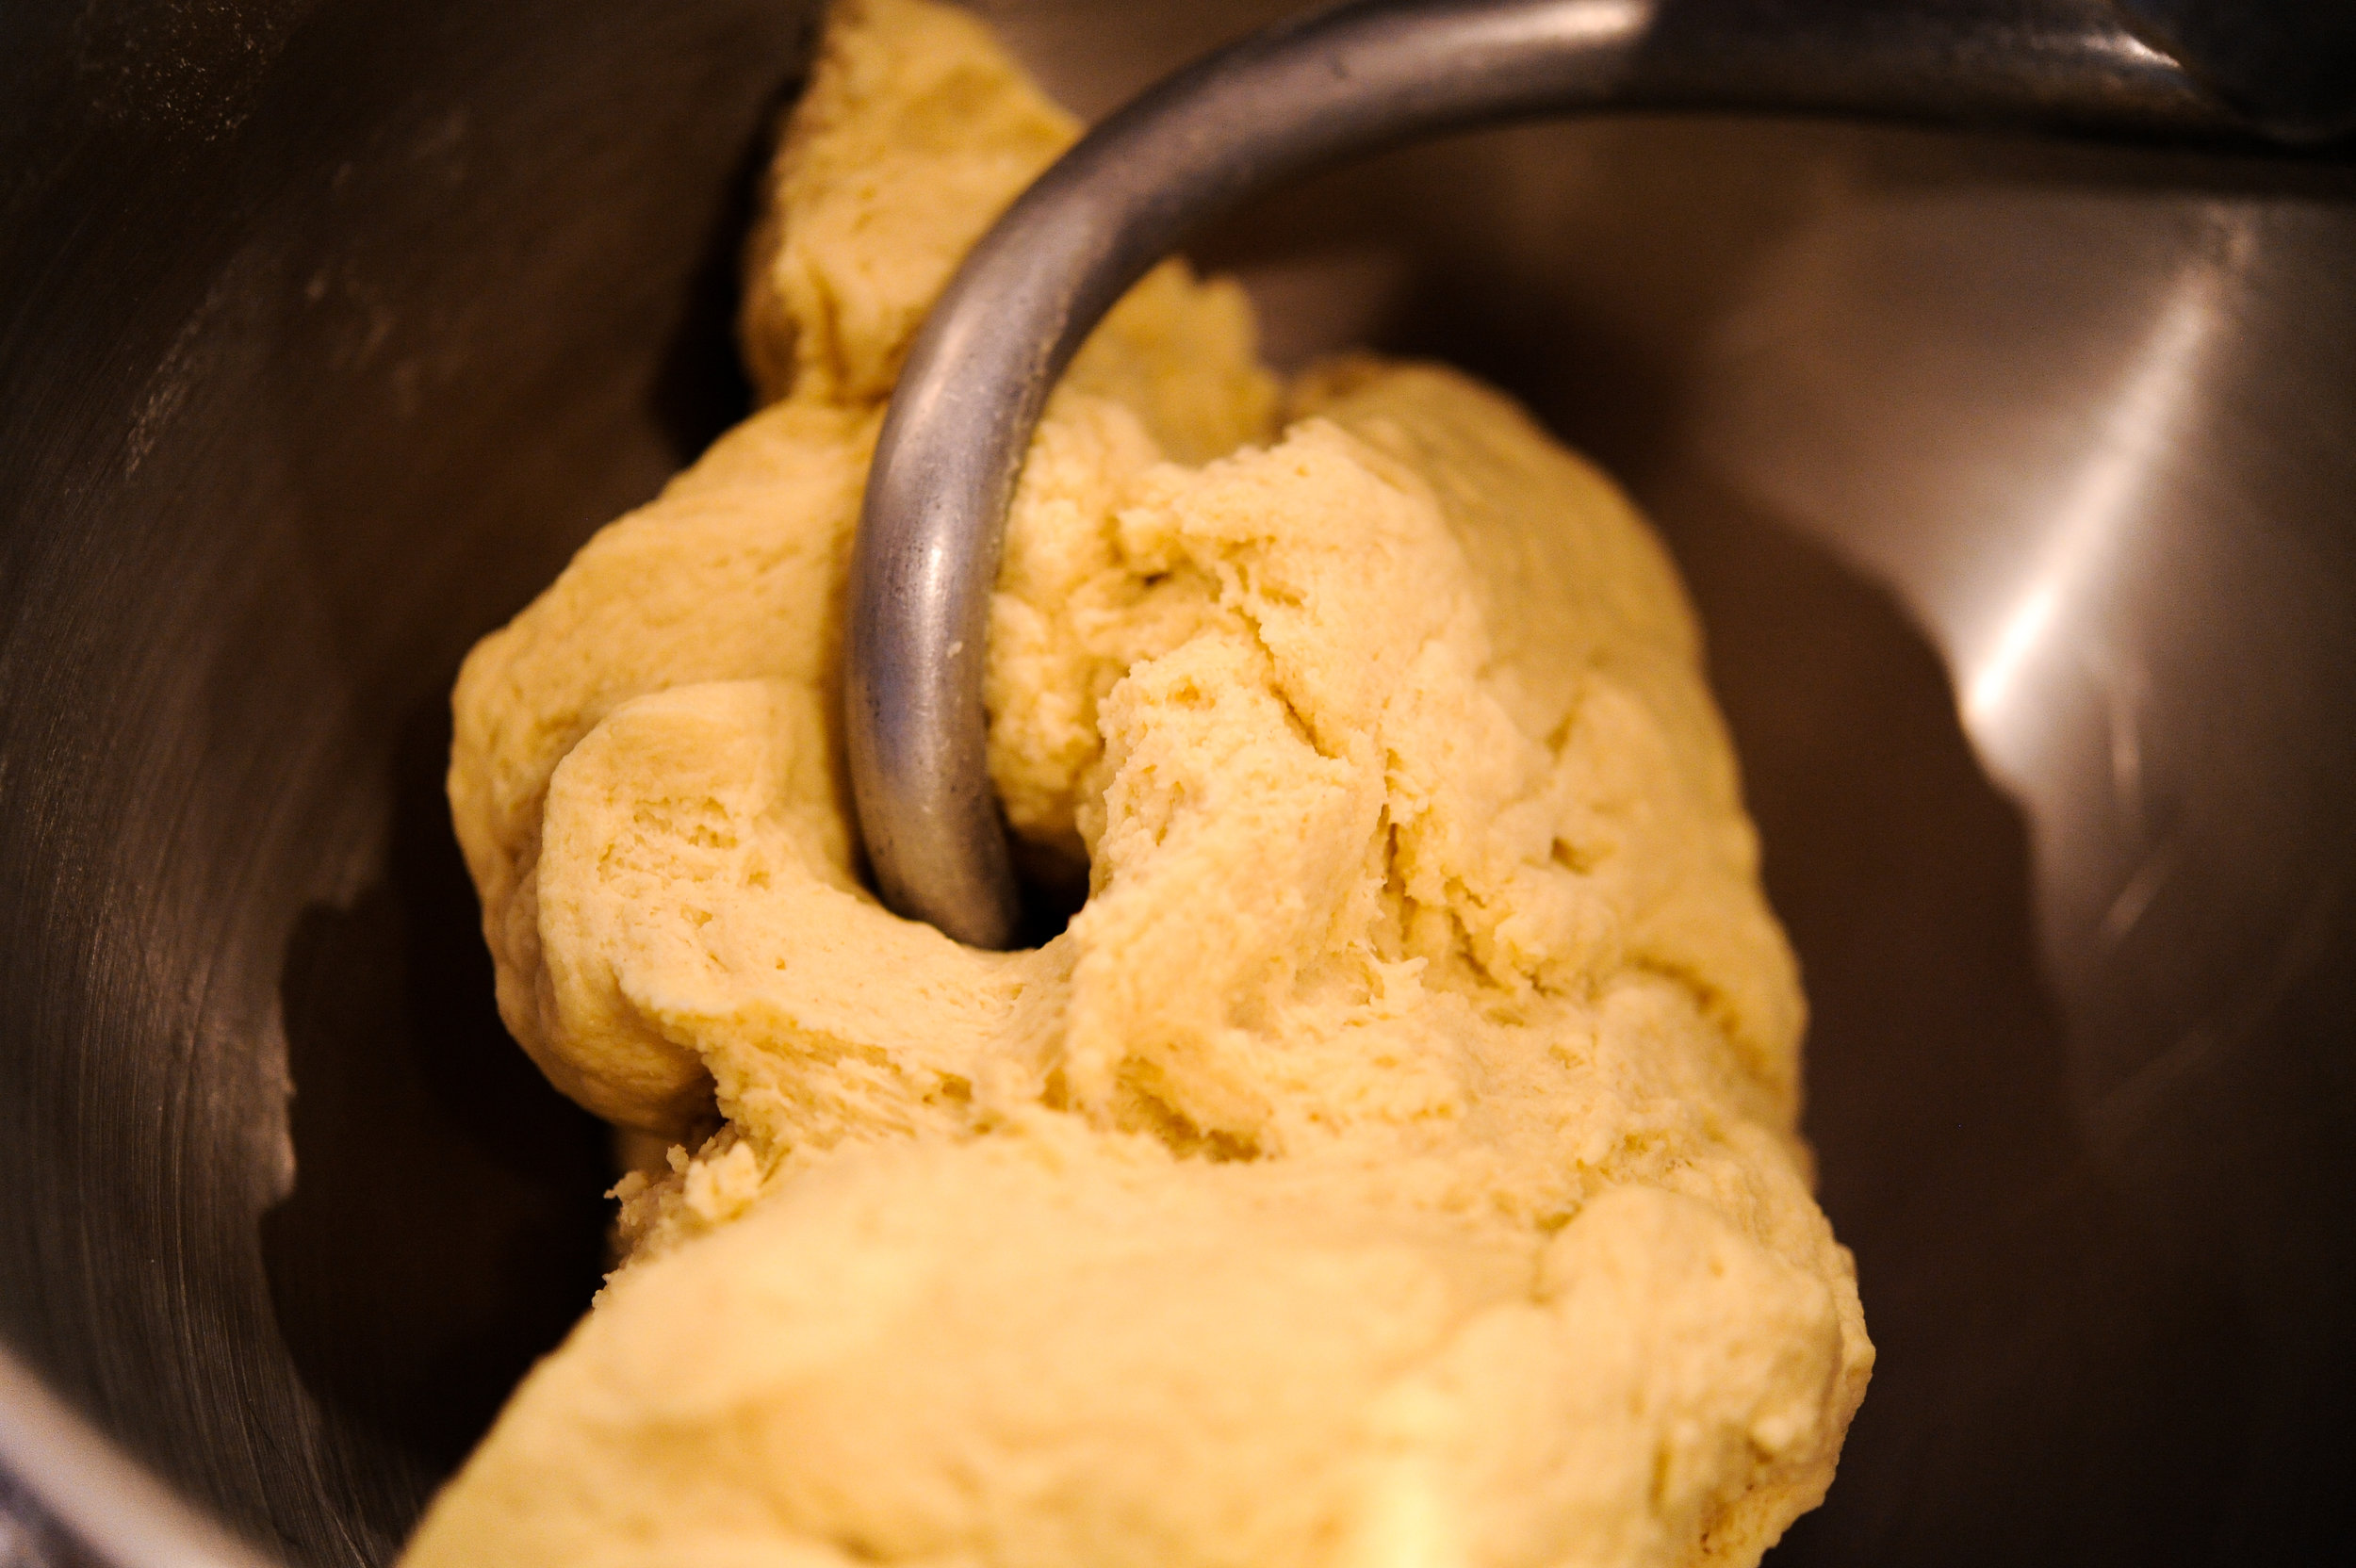
Place all ingredients in the bowl except for the water. Turn the mixer on slowly and add 3 tablespoons of the water. Add more water, 1 tablespoon at a time, until the mixture comes together and forms a ball. Knead the dough on a lightly floured board to make sure it is well mixed. Set aside to rest for 30 minutes.
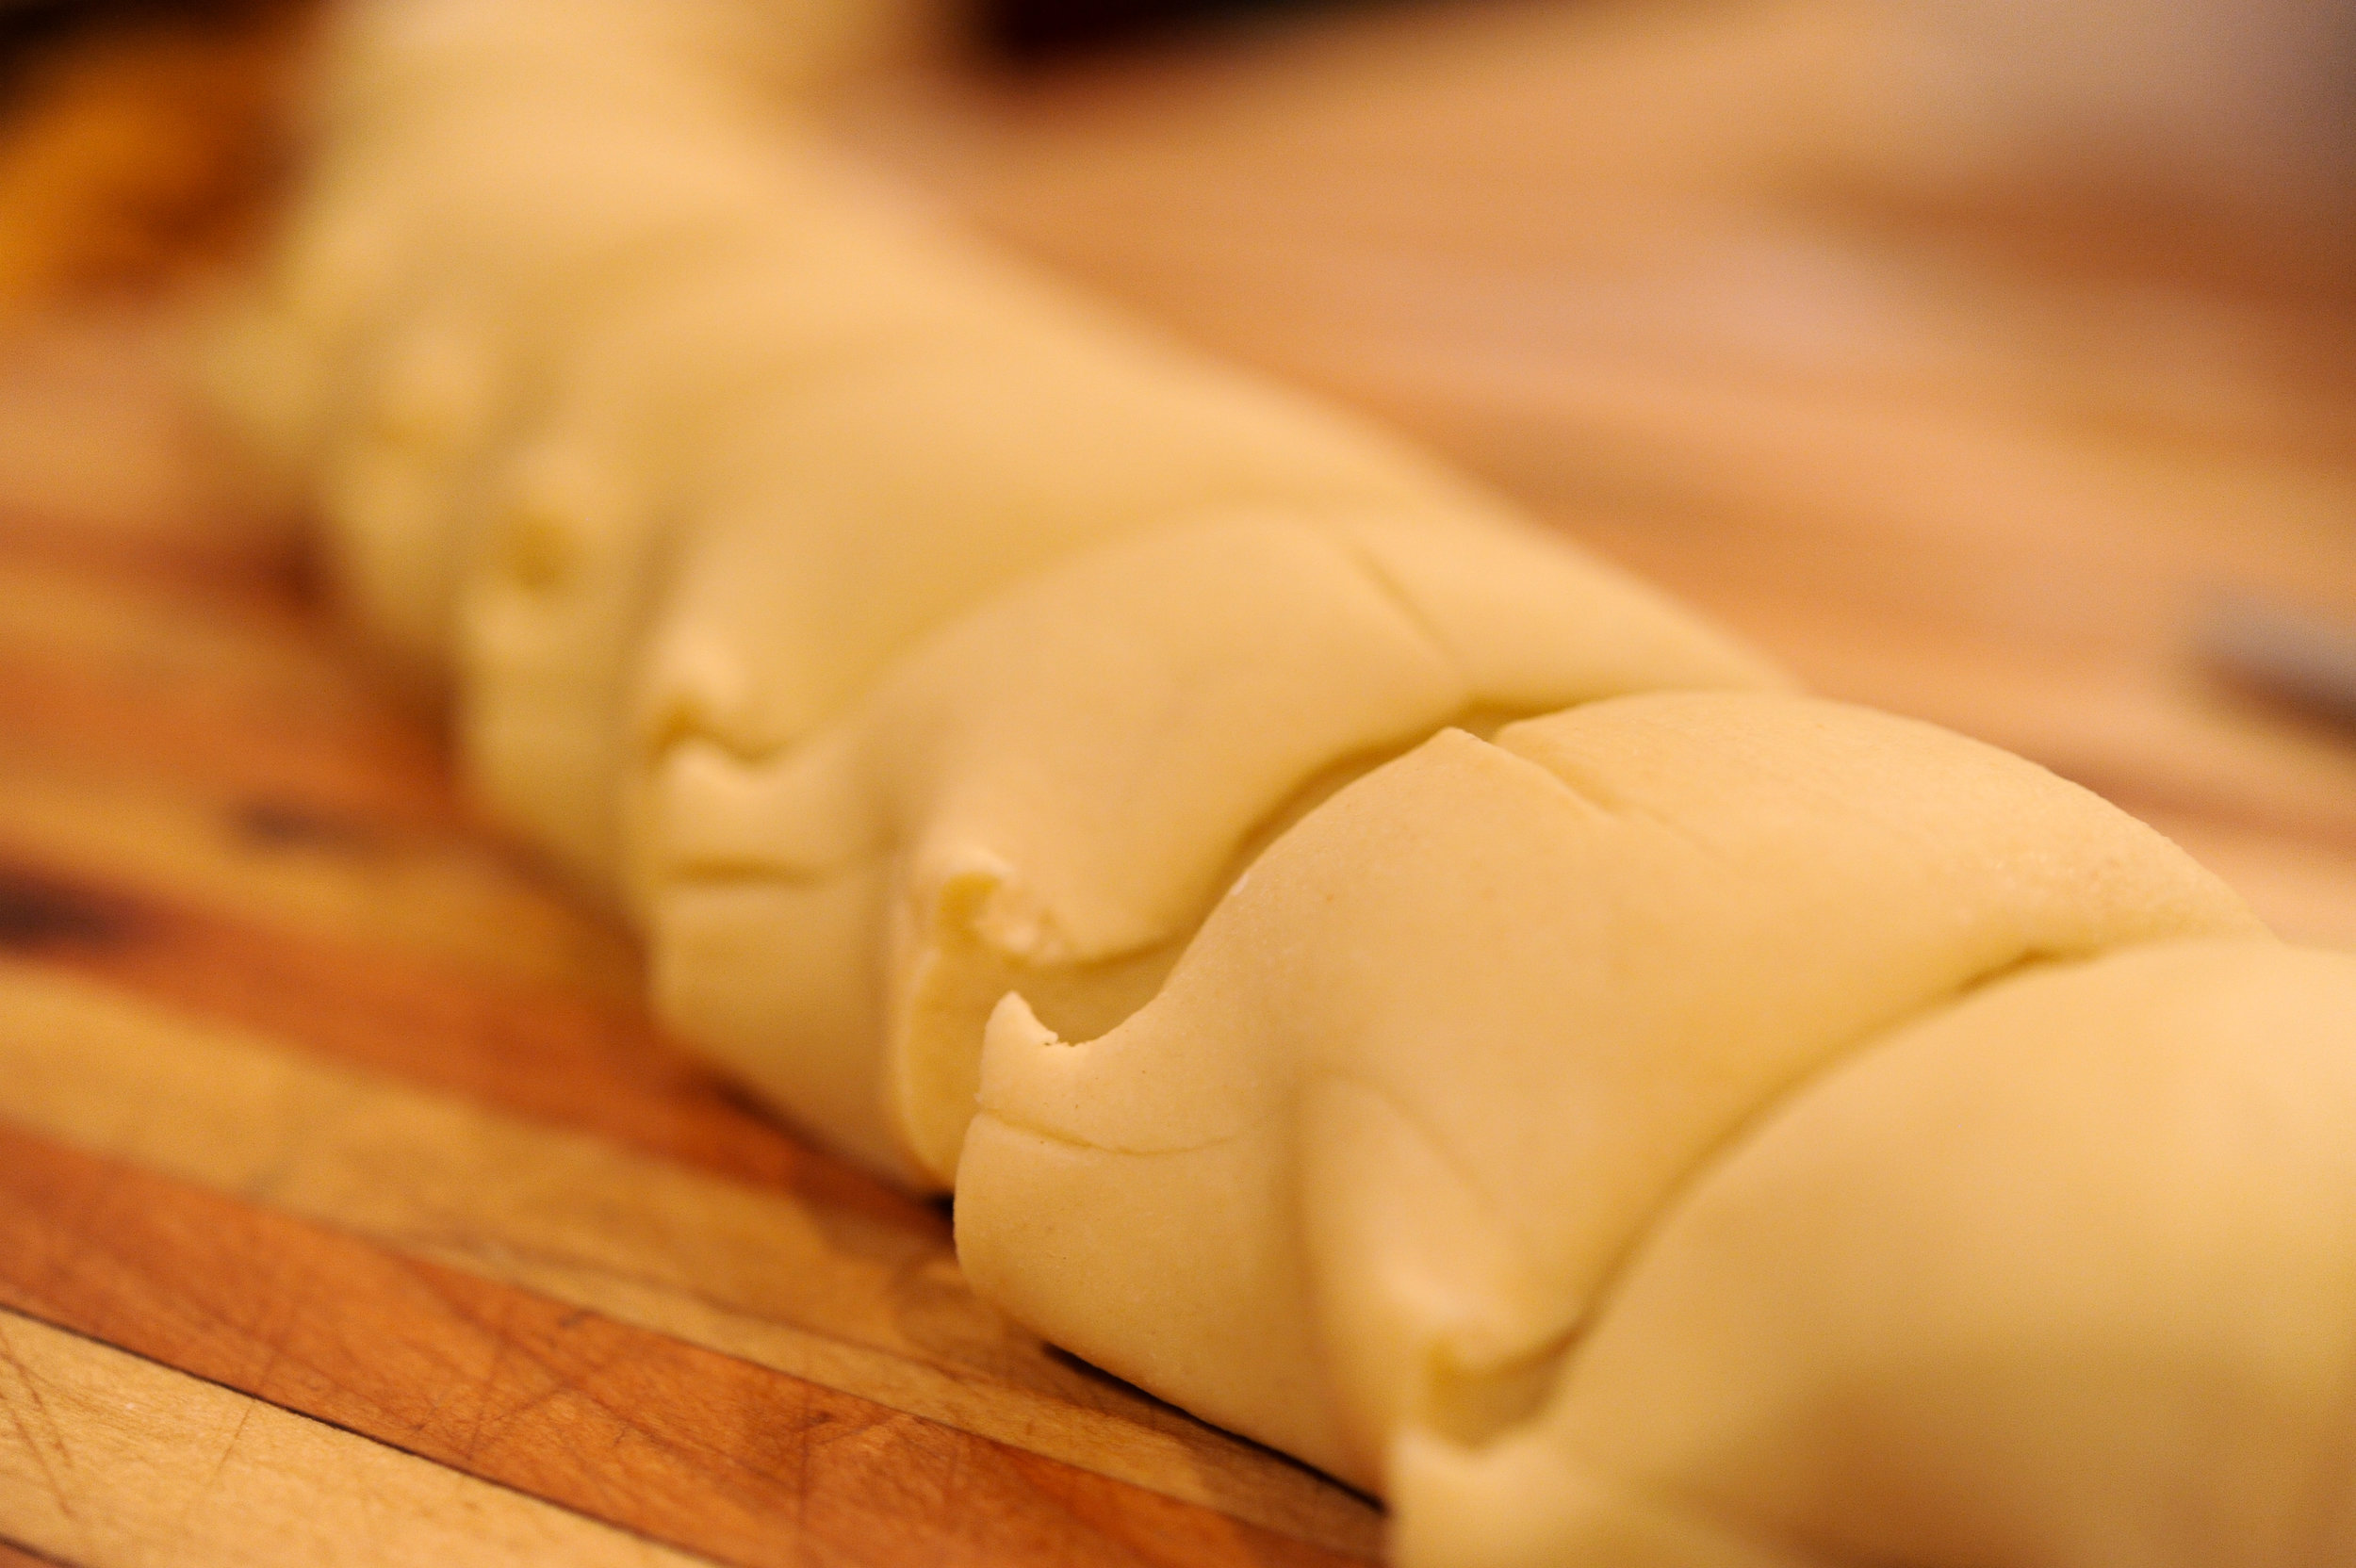
Generously flour your counter top or work area. Cut the dough into 6 pieces and cover with a towel (don’t cover the pasta with kitchen towels if you use a scented fabric softener because the pasta will pick up the scent—use parchment instead). With your hands, flatten and shape one piece of dough into a 1/2-inch-thick rectangle. Dust it lightly with flour and pass it through the widest setting on the pasta machine. If the dough comes out oddly shaped, reform into a rectangle. Fold it in thirds, like a letter, and if necessary, flatten to 1/2 inch thick. Pass it through the widest setting again with the seam of the letter perpendicular to the rollers. Repeat this folding and rolling step three or four times, dusting the dough with flour if it becomes sticky.
Without folding the dough, pass it through the next setting on the pasta machine. Keep reducing the space between the rollers after each pass, lightly dusting the pasta with flour on both sides each time ( I stop at # 5 on the KitchenAid pasta roller).
Generously dust both sides of the pasta sheet and lay on the floured sheet tray. Roll out the remaining dough in the same manner. Cut each strip of dough into 11-inch lengths.
Bring a 10-quart pot of well-salted (it should taste like sea water) water to a boil over high heat. Put a large bowl of ice water near the pot of boiling water. Line a rimmed baking sheet with sheets of parchment and have more parchment ready.
Put 3 or 4 noodles in the boiling water. Once the water returns to a boil, cook for about one minute. With a large wire skimmer, carefully transfer them to the ice water to stop the cooking. Repeat with the remaining noodles.
Drain the noodles and rinse under cold water. Spread them flat on the parchment-lined sheet tray, I layered them on top of each other and they didn't stick but if you are concerned about sticking, layer the noodles between parchment and set aside until you’re ready to assemble the lasagna.
Lasagna Filling Preparation
Position a rack in the center of the oven and heat the oven to 425°F.
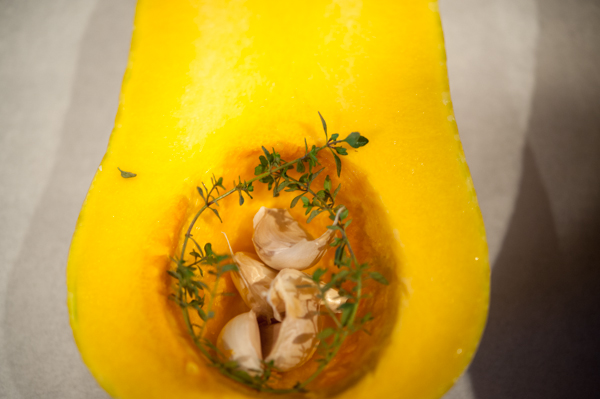
Put the squash cut side up on a large, heavy-duty rimmed baking sheet. Divide the garlic cloves and sprigs of thyme between the two halves and place in each cavity. Drizzle each half with 1 tsp. of the oil and then season each with 1/4 tsp. salt and a few grinds of pepper. Roast until the squash is browned in spots and very tender when pierced with a skewer, 45 to 50 minutes. Remove from the oven and let cool completely.
Discard the thyme sprigs. Peel the garlic and put in a large bowl. Scoop the squash flesh from the skins and add it to the garlic. Mash with a fork until smooth. Season to taste with salt and pepper.
Melt 3 tablespoons of butter in a sauté pan over medium heat. Add onions and 2 teaspoons of thyme leaves, reduce heat to medium-low and cook until golden brown and caramelized, about 45 minutes. Set aside.
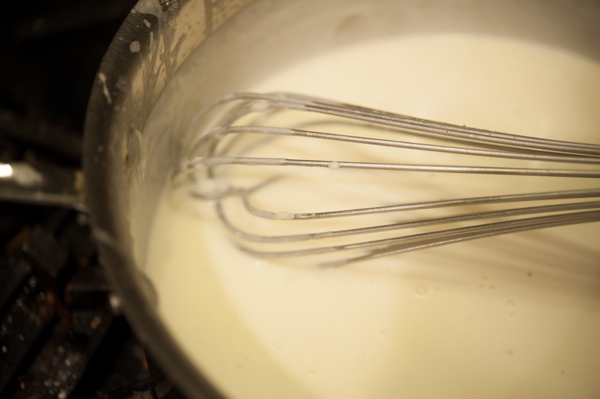
Melt 5 tablespoons of butter in a 3-quart saucepan over medium heat. Add the flour and whisk until smooth and golden, about 2 minutes. Gradually whisk in the milk and cook, whisking occasionally, until thickened enough to coat the back of a spoon, about 15 minutes. Stir in the goat cheese, pecorino, 1 teaspoon salt, and a few grinds of pepper. Season to taste with more salt and pepper.
In a large bowl, add the cheese sauce, the squash/garlic mixture, crumbled bacon and caramelized onions. Stir to combine thoroughly and taste for seasoning.
Spread 1/2 cup of the squash/cheese sauce over the bottom of a 9x13 inch baking dish. Cover the sauce with a slightly overlapping layer of cooked noodles, cutting them as needed to fill any gaps. Spread 1 cup of the cheese/squash mixture evenly over the noodles and sprinkle with the shredded Parmesan. Add another layer of noodles and repeat the layers as instructed above, to make a total of 4 squash layers and 5 pasta layers. Spread the remaining cheese/squash sauce evenly over the top. Sprinkle with the remaining Parmesan cheese.
Heat oven to 350 degrees. Cover the baking dish with foil and bake for 40 minutes. Remove the foil and bake until the top is browned and bubbly, 15 to 20 minutes. Cool for at least 10 minutes before serving.
Make Ahead Instructions You can make the roasted squash mixture up to 1 day ahead of assembling the lasagna. You can assemble the lasagna up to 2 days ahead of baking it. Tightly wrap the baking dish in plastic and refrigerate it. Let the lasagna come to room temperature before baking it.
Sassy Quiche
I'm back after a hiatus due to a pinched nerve in my neck and a numb right arm— I have a whole new appreciation for the phrase 'a pain in the neck', heating pads and Ben-Gay. I have to admit, I really missed taking pictures and writing about my dinners, dogs, waterfalls, photo safaris and all the other pieces that make up the mosaic of a Mary Dougherty day. The good news is it forced me to (kind of) clean up my hedonistic eating habits and I'm proud to say I throw back a quart of green smoothie every morning. And there's even more good news— before my nerves staged their insurrection in my neck, I made these beautiful little quiches with Sassy Nanny chevre and Northern Smokehaus pancetta. There's something about my red tartlet pans that makes my heart go pitter-pat (and it doesn't hurt there was pancetta and chevre involved).
I feel like I've catapulted myself over into 'I have a rolling-pin and I know how to use it' land every time I make my own shortcrust pastry, it's not as hard as I thought and nine times out of ten, it actually works out. When I find myself in 'what the hell am I supposed to do with this rolling pin' land, there is a package of Pillsbury pie crusts in the freezer that's perfectly acceptable and flaky. I used a recipe from Rachel Allen (recipe here) but use whatever recipe (or refrigerated pie crust) you feel comfortable with— it's really all about the filling, in my opinion.
Sassy Quiche
6 tartlet pans
3 tbsp butter, melted for the tartlet pans
1 batch of shortcrust pastry or a package of refrigerated pie crusts
3/4 cup red onion, chopped
3/4 pound of pancetta or bacon
1/2 cup of Parmesan, shredded
3/4 pound Sassy Nanny chevre
4 tbsp fresh rosemary, chopped
6 eggs, lightly beaten
1 1/4 cup heavy cream
salt and pepper to taste
Preparation
Preheat the oven to 375 degrees. In a medium sauté pan, cook the pancetta or bacon until crisp, remove from the pan and set aside. In the same pan you cooked the pancetta, add the red onion and cook until lightly browned. Remove from the pan and set aside with the pancetta. Brush the interiors of the tartlet pans with butter and place rounds of shortcrust pastry in each pan. Press the dough firmly into the sides and bottom of each pan, sprinkle the parmesan over the bottom and set aside. Divide the chevre into 6 equal portions and add it, along with pancetta and onions, to each pan. Combine the eggs and cream, pour into each tartlet pan (until it's about a 1/4 inch from the top of the crust) and sprinkle the rosemary over each pan. Bake in the preheated 375 degree oven for about 30 minutes or until filling sets and top of quiche is lightly browned. Allow to cool 10 minutes before serving.
A Monochromatic Dinner For Another Snowy Night
Instead of 'space, the final frontier' from Star Trek, it was 'pasta, the final frontier' in my kitchen last week. My final frontier list has been greatly reduced in the past year (I've been busy in the kitchen). I've checked off naan, mu shu pork, pie crust, Italian sausage and now, homemade pasta. Since the dough is relatively easy to work with (nothing like pie crust dough or as I call it, a crumbly mess) and I had the attachments for my mixer— I was ready to take off into one more culinary final frontier. My pasta Captain Kirk was David Lebovitz, a blogger I follow in Paris. His recipes are thoroughly tested and haven't failed me yet (pasta recipe here). I added about 3 or 4 tbsp. of water because the dough seemed dry. I used large eggs, like the recipe stated, but I think the addition of the water was necessary or it would have been impossible to roll out. The resting period is very important, give the dough the full one hour resting time— it will be easier to work with.
Another 6 - 12 inches of snow is on it's way tomorrow night and Thursday. I can't believe the sheer volume of snow we've received this winter but it's melting fast (there's nothing like a warm April sun, except maybe a hot July sun) and the mud is already making appearances here and there. But it's still 50 million shades of white outside and this pasta dish is an homage to the monochromatic world of winter and spring in Northern Wisconsin. I had two heads of roasted garlic, a head of cauliflower, Sassy Nanny chevre and some oil cured olives waiting for a flash of inspiration to propel them to dinner greatness. My flash came from another blogger I follow in Italy, Rachel Eats. She had a post about making pasta with a recipe for a simple cauliflower and olive oil 'sauce'. I cooked the cauliflower, gathered my other ingredients, boiled the pasta and a monochromatic dinner was born.
Homemade Pasta with Cauliflower, Chevre and Roasted Garlic (Adapted from Rachel Eats)
Ingredients
Homemade pasta (David Lebovitz)
1 head of cauliflower
1/2 to 3/4 cup extra virgin olive oil (depending on how creamy you want the sauce)
3/4 cup Sassy Nanny chevre
2 heads of roasted garlic, cloves removed
2 tbsp fresh thyme, chopped
1 tbsp fresh rosemary, chopped
/2 cup olive cured olives, pits removed and chopped
1 -2 tbsp good balsamic vinegar
Kosher salt and pepper
Preparation
Break the cauliflower into large florets. Bring a large pan of well salted water to boil and cook the florets for about 1o minutes or until they are soft and very tender.
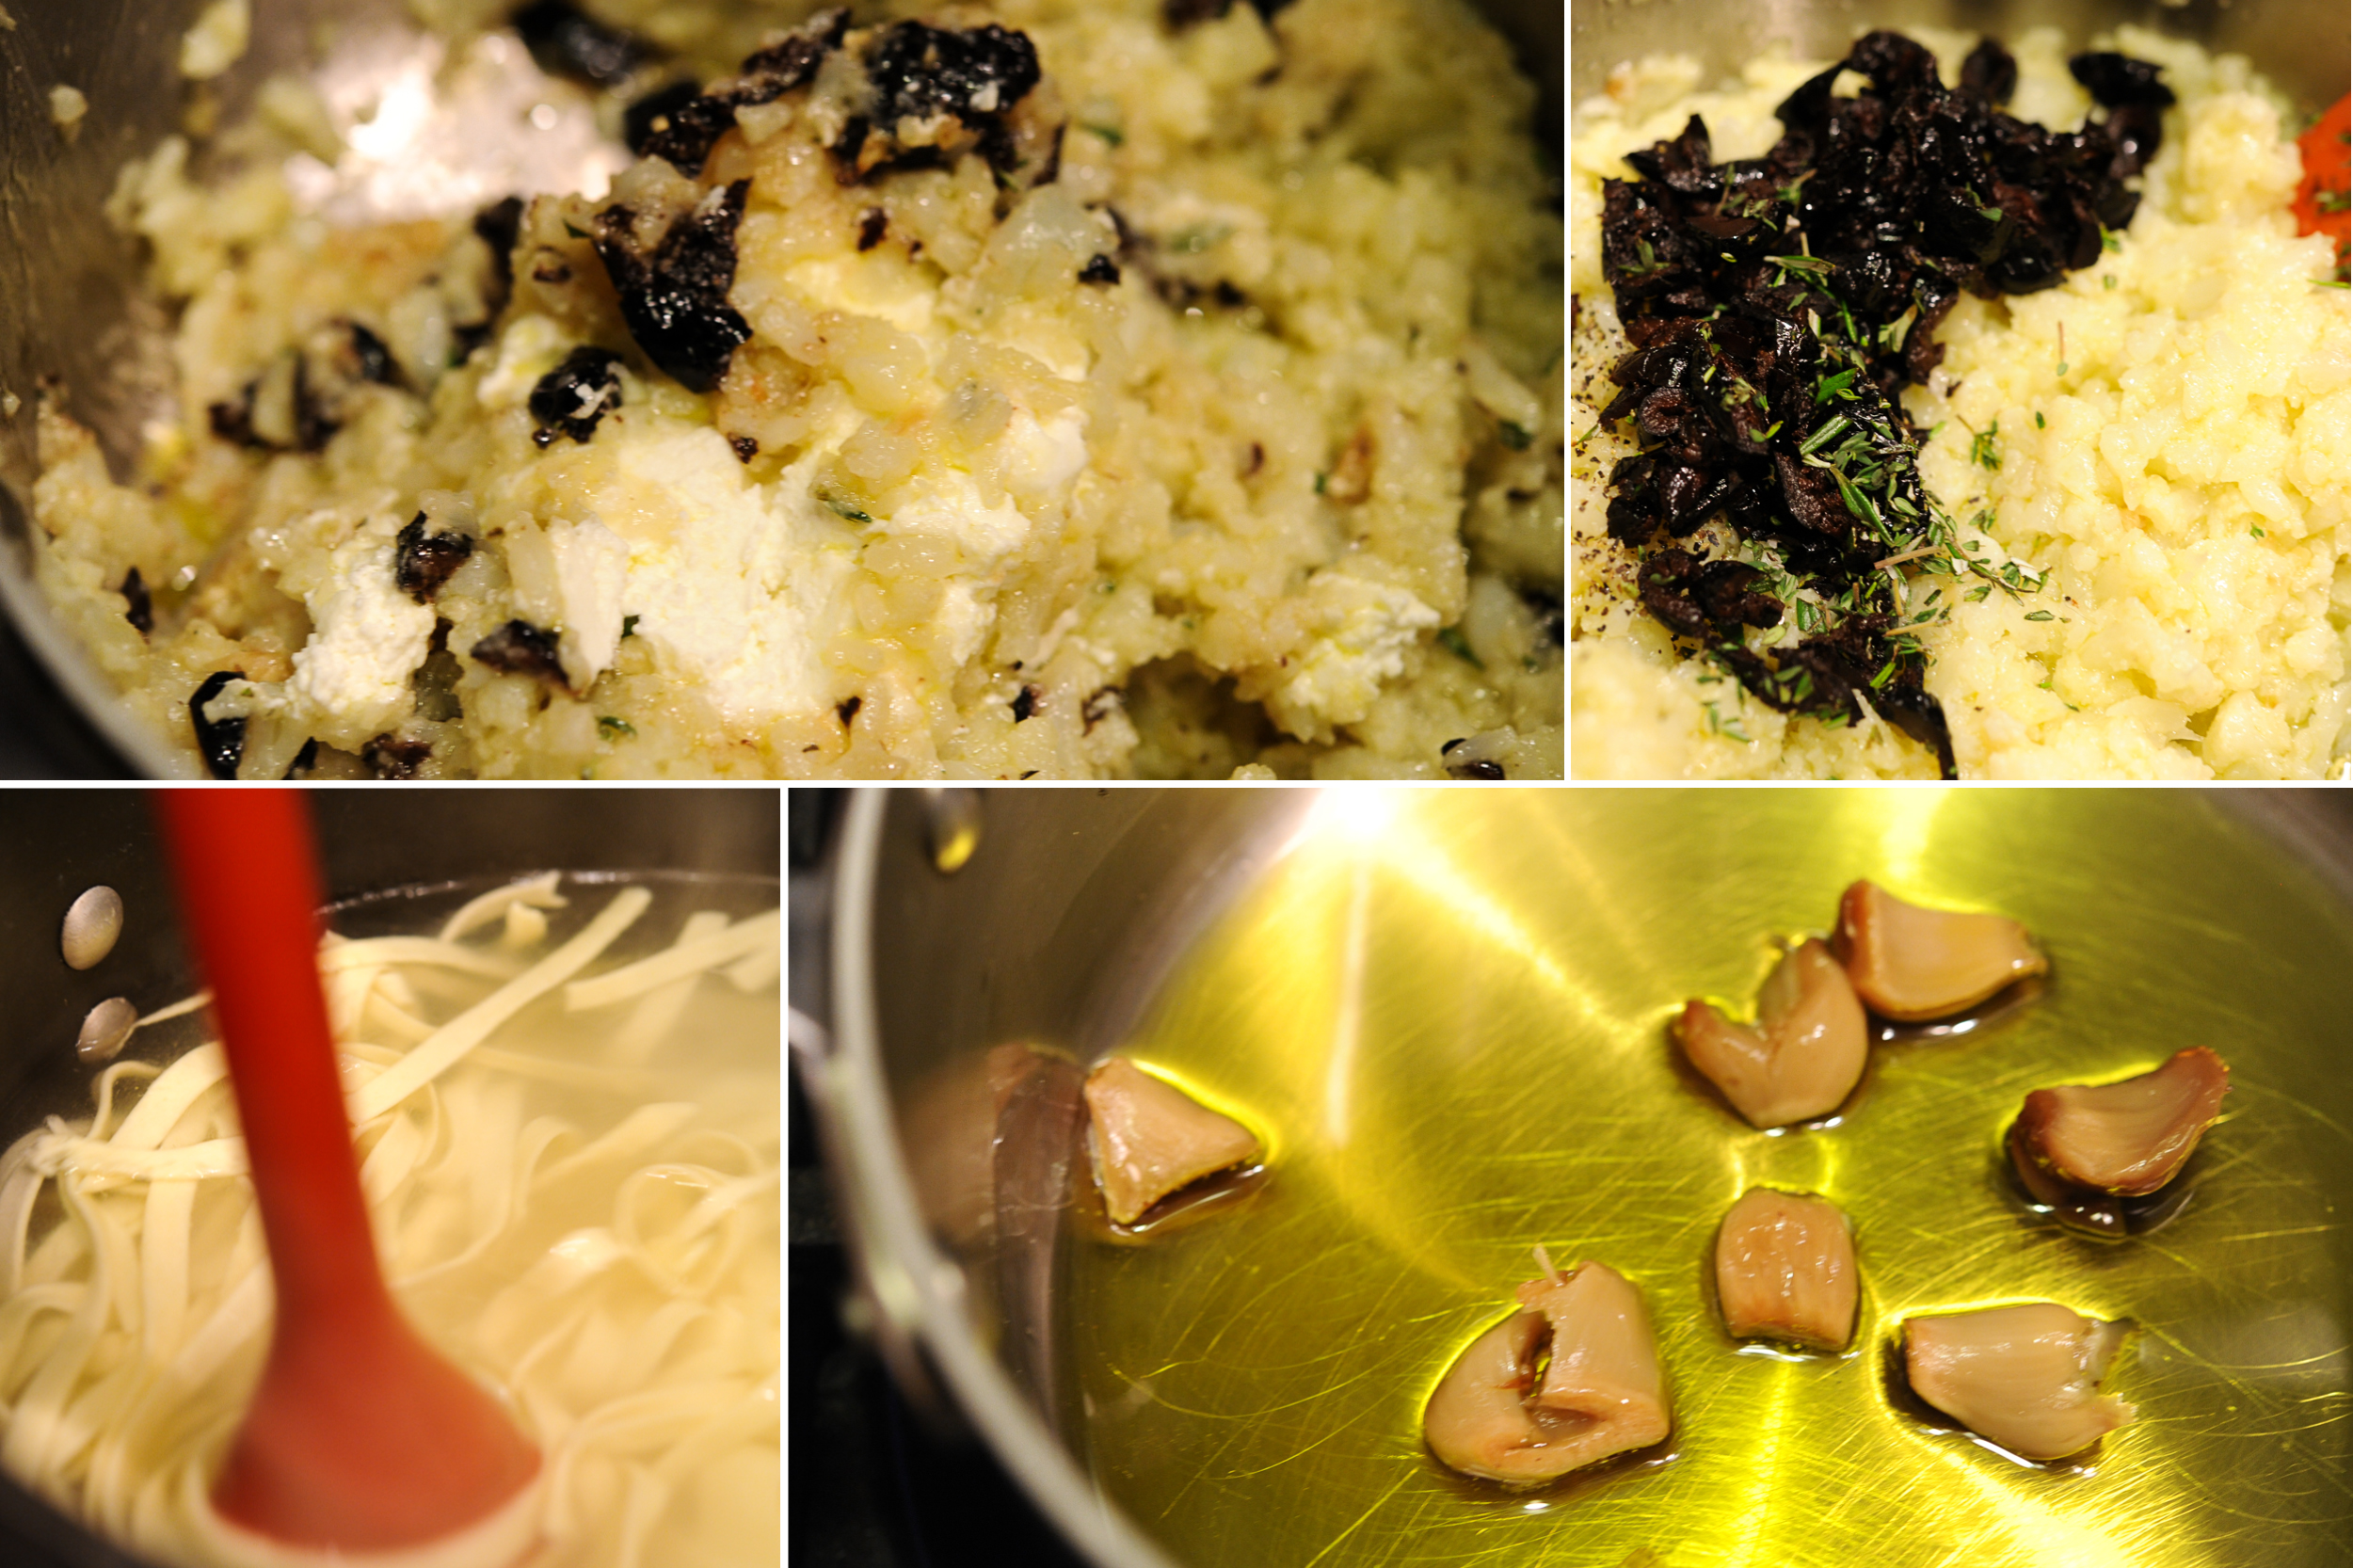
Use a slotted spoon to lift the cauliflower out of the pan and into a colander to drain. In a sauté pan warm the oil and then sauté the garlic until it's fragrant. Do not let it burn. Remove the garlic and then add the cauliflower, olives and herbs. Stir well so both are coated with oil and gently mash the cauliflower with the back of the wooden spoon until you have a soft, creamy mixture. Add more oil if necessary. Add the chevre and stir to combine. Taste for salt and pepper and remove from the heat.
Cook the pasta in the cauliflower water until al dente which will only take a few minutes. Drain the pasta – reserving some cooking water – and add it to the pan. Stir. Add a little cooking water to loosen and emulsify the dish if necessary. Drizzle with balsamic vinegar and serve immediately.
Sassy Salmon En Croute
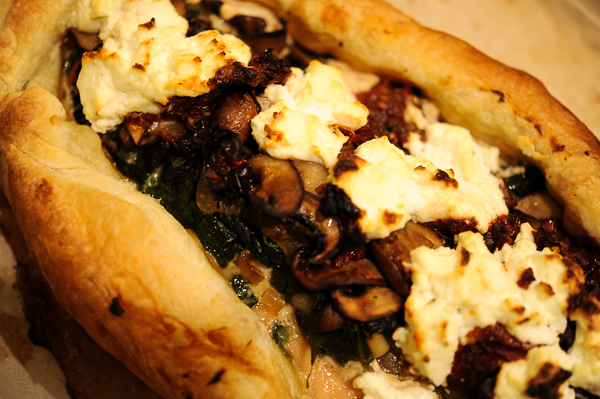
There are a few things I always have in the freezer: meatballs, Tetzner's ice cream, chicken stock and puff pastry dough. Puff pastry dough is my idea of a secret weapon— you wrap anything in a buttery, flaky dough and voilà, you've elevated the ordinary to the extraordinary (the power of butter is endless). Ted made salmon en croute for our very first Christmas Eve dinner with my family twelve years ago. We wanted to come up with a show-stopping meal and since I've never been a particularly big fan of understatement, wrapping a hunk of salmon in puff pastry seemed like the ticket to Christmas Eve perfection. Ted took charge of the dinner and I remember poking my head in the kitchen and watching him, with his tie tucked in between the buttons on his shirt, cutting the dough into the shape of a fish— he's kind of a fancy guy. When he walked out of the kitchen with an enormous smile on his face and a perfectly cooked and puffed salmon en croute, I knew we had started a cherished family tradition.
Twelve years later, I've wrapped all sorts of things in puff pastry (brie en croute recipe here) and we have ribs for Christmas Eve dinner now, but nothing beats salmon en croute for a good meal and a trip down memory lane. This time I ran into a snag and tried to roll out the dough when it was too cold. It kept cracking and I wasn't able to get it large enough to wrap up the entire fish. I decided to morph my 'en croute' to 'en galette' and wrapped the salmon about halfway up. It turned out to be a fortuitous detour— the filling (now the topping) was caramelized and the puff wasn't soggy because the moisture from the spinach and mushrooms evaporated in the oven. I guess impatience can pay off (sometimes).
Sassy Salmon En Croute
1/4 cup butter
1 1/2 pounds fresh mushrooms,sliced
3 large shallots, chopped
2 cloves garlic, minced
2 (10-ounce) packages frozen spinach, thawed and squeezed dry
1/2 cup sun-dried tomatoes in olive oil, chopped
8 ounces goat cheese (I used Sassy Nanny Lake Effect)
2 tbsp fresh thyme, chopped
1 package puff pastry ( I used Pepperidge Farms), thawed in the refrigerator overnight
1 (2-to 2 1/2-pound) salmon fillet, skinned
1 large egg
2 teaspoons water
Salt and freshly ground black pepper
Preparation
Melt the butter over medium-high heat in a large skillet. Add the mushrooms and shallots and sauté until well cooked and all the liquid has evaporated, about 10 minutes. Add the spinach, garlic, sun-dried tomatoes and thyme and sauté until all liquid is evaporated, about another 5 minutes. Season to taste with salt and pepper. Transfer to a covered container and refrigerate until thoroughly cooled, up to one day in advance.
Lightly flour a clean work surface and set out the chilled puff pastry. Let the pastry sit just long enough to become pliable, so it won't break or crack when you unfold it and try to roll it out. Roll the puff pastry dough out to fit your salmon fillet when it's placed on the dough on the diagonal. Place the puff dough on a sheet tray lined with parchment paper. In a small bowl, combine the egg and water for the egg wash and beat with a fork until foamy.
Season the salmon fillet with salt and pepper. Place the spinach/mushroom/sun-dried tomato mixture and goat cheese on top of the salmon fillet and wrap the puff dough up around the salmon. Brush the sides of the dough with the egg wash, being careful not to let too much egg drip down the edges of the pastry, and cover loosely with plastic wrap. Place in the refrigerator and chill for at least 1 hour and up to overnight before baking.
Preheat the oven to 450 degrees. Remove the plastic wrap, place the baking sheet on the center rack of the oven, and bake for 15 minutes. Decrease the temperature to 350 degrees and bake an additional 15 to 20 minutes, until the pastry is golden brown and puffed. Remove from the oven and let rest, uncovered, for at least 30 minutes before cutting.
A Sassy Roasted Vegetable Salad
Two really great things happened to me in the past month— my homemade red wine vinegar is finally healthy and Kathy introduced me to roasted vegetables in a green salad. I'm not sure what event was more impactful but when they came together on my plate, I had joy in my little heart. My path to homemade vinegar was full of pot-holes, really big and unmarked pot-holes. I bought my vinegar mother, put her in the crock with decent red wine, put the cap on the crock and went on my merry way for 2 months. Big mistake. I opened the crock and it smelled exactly like nail polish remover, not exactly what I was shooting for.
I searched the internet but it seemed nearly everyone had great success in their vinegar production and I couldn't find much information on what to do when the vinegar smells horrid (except throw it out and start over). I was not about to throw it out, I had two months invested and it was too cold to have another mother shipped— evidently, they need to stay warm in order to turn wine into vinegar. So, I decided to do it my way and disregard the instructions. I added some water, sugar, more wine and stirred it vigorously every third day. I waited and waited and stirred and stirred. Finally, six weeks later, I took a whiff and the most beautiful acidic aroma wafted into my nose. Homemade red wine vinegar is everything I hoped it would be— lightly acidic and fresh tasting, and not a hint of acetone to be found.
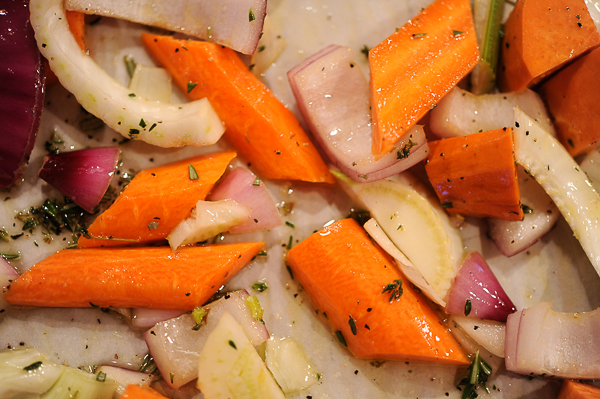
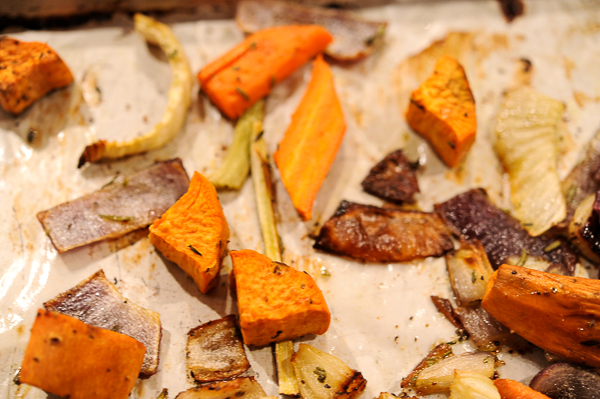
Back to the roasted vegetable revelation. I knew a salad with roasted carrots, sweet potatoes, fennel and onion combined with Sassy Nanny goat cheese and my red wine vinaigrette would be just the ticket for a spring dinner. Soon, I will have lots of fresh vegetables from the garden to dress up in a salad but for now, roasted vegetables were a nod to the passing of winter.
Sassy Roasted Vegetable Salad
Red Wine Vinaigrette
1/4 cup red-wine vinegar
1 tablespoon Dijon mustard
1 teaspoon sugar
Salt and black pepper, to taste
1/2 cup extra-virgin olive oil
Salad
4 carrots, peeled and cut into 2 inch pieces
1 sweet potato, peeled and cut into 1 inch pieces
1 red onion, peeled and sliced
1 fennel bulb, fronds removed and sliced
1/4 cup olive oil
1 tbsp fresh thyme, minced
1 tbsp fresh rosemary, minced
salt and pepper, to taste
1 pear, sliced
4 cups spring mix or spinach (or a combination of both)
1/2 cup Sassy Nanny Lake Effect goat cheese
Preparation
Preheat oven to 400 degrees.
Place all the vinaigrette ingredients in a bowl and whisk until fully incorporated and slightly thickened.
Place vegetables, herbs, salt, pepper and olive oil in a sheet tray lined with parchment. Roast for 30 minutes or until softened and caramelized. Set aside to cool. Assemble the salad with roasted vegetables and pear slices and then toss with the vinaigrette. Place the goat cheese on top of the salad, taste for salt and pepper and serve immediately.
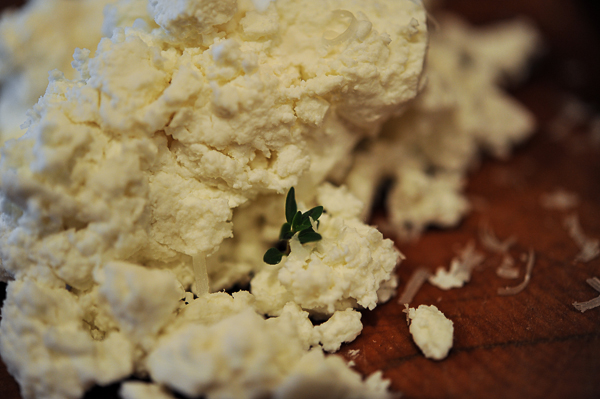
Alice's Goat Cheese Souffle
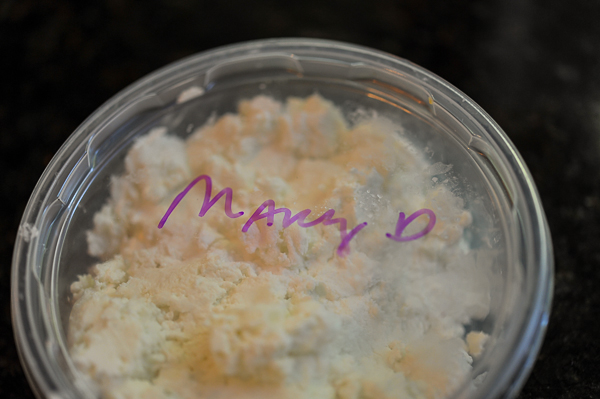
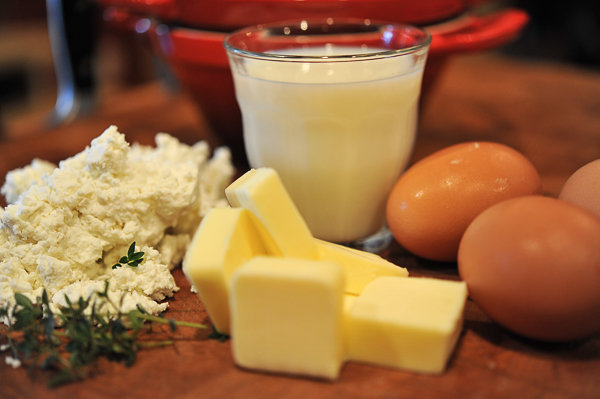 Every other Friday I stop by Pinehurst, look for the cooler by the side door and pick up a couple of containers of fresh Sassy Nanny goat cheese from Michael. It even has my name on the tasty little packages. Yet another reason I love living in Bayfield— bespoke cheese. When I went to visit Michael last March (link here), I was in awe of the sheer amount of work that goes into a pound of cheese. It's truly a labor of love (or some other kind of madness) and the cheese that is waiting for me in the cooler is some of the best goat cheese I've eaten. Michael's goat cheese and Jennifer's eggs— a perfect match and a perfect Sunday brunch.
Goat Cheese Souffle (From Alice Water's The Art Of Simple Food)
6 tbsp butter (5 tbsp for souffle & 1 tbsp to butter souffle dish) 3 tbsp flour 1 cup milk salt & freshly ground pepper pinch of cayenne 1 thyme sprig, leaves only 4 eggs, separated 4 ounces goat cheese 1/4 cup parmesan, grated
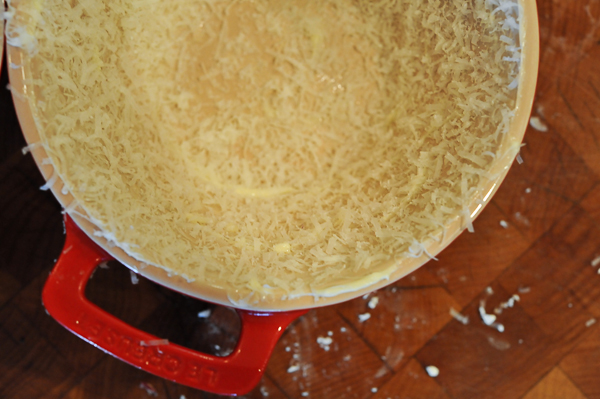
Preheat the oven to 375 degrees. Butter a 1 quart souffle dish and then coat the sides with the parmesan cheese.
Melt 5 tbsp of butter in a heavy saucepan over medium heat. Stir in flour and cook for 2 minutes. Whisk in, little by little, the milk making sure to whisk thoroughly between each addition. Season the bechamel with salt, pepper, cayenne and thyme and cook over low heat for 10 minutes. Remove from heat and cool slightly. Stir the yolks into the bechamel and then add the goat cheese, stir to combine.
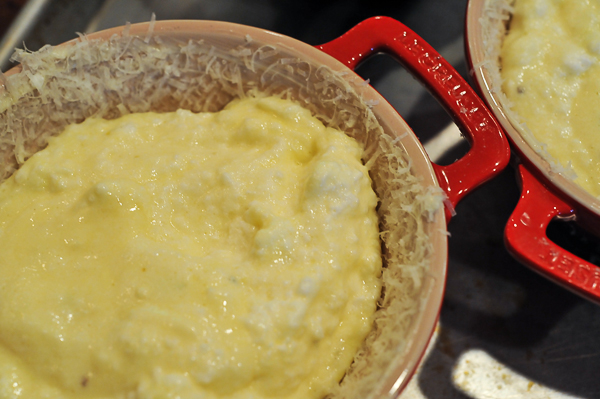
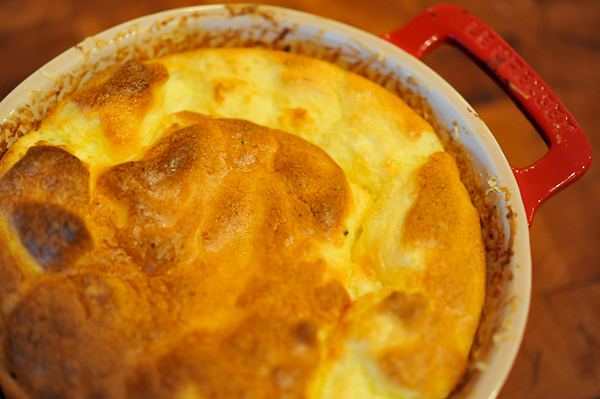
Whip the egg whites into moist firm peaks. Stir one-third of the whites into the souffle base. Then gently fold the base into the rest of the egg whites, taking care not to deflate them. Pour the mixture into the buttered dish and bake for 35 - 40 minutes, or until puffed and golden, but still soft in the center and jiggly when shaken gently. Serve immediately.
