Cookery Maven Blog

Salt-Cured Hot Peppers

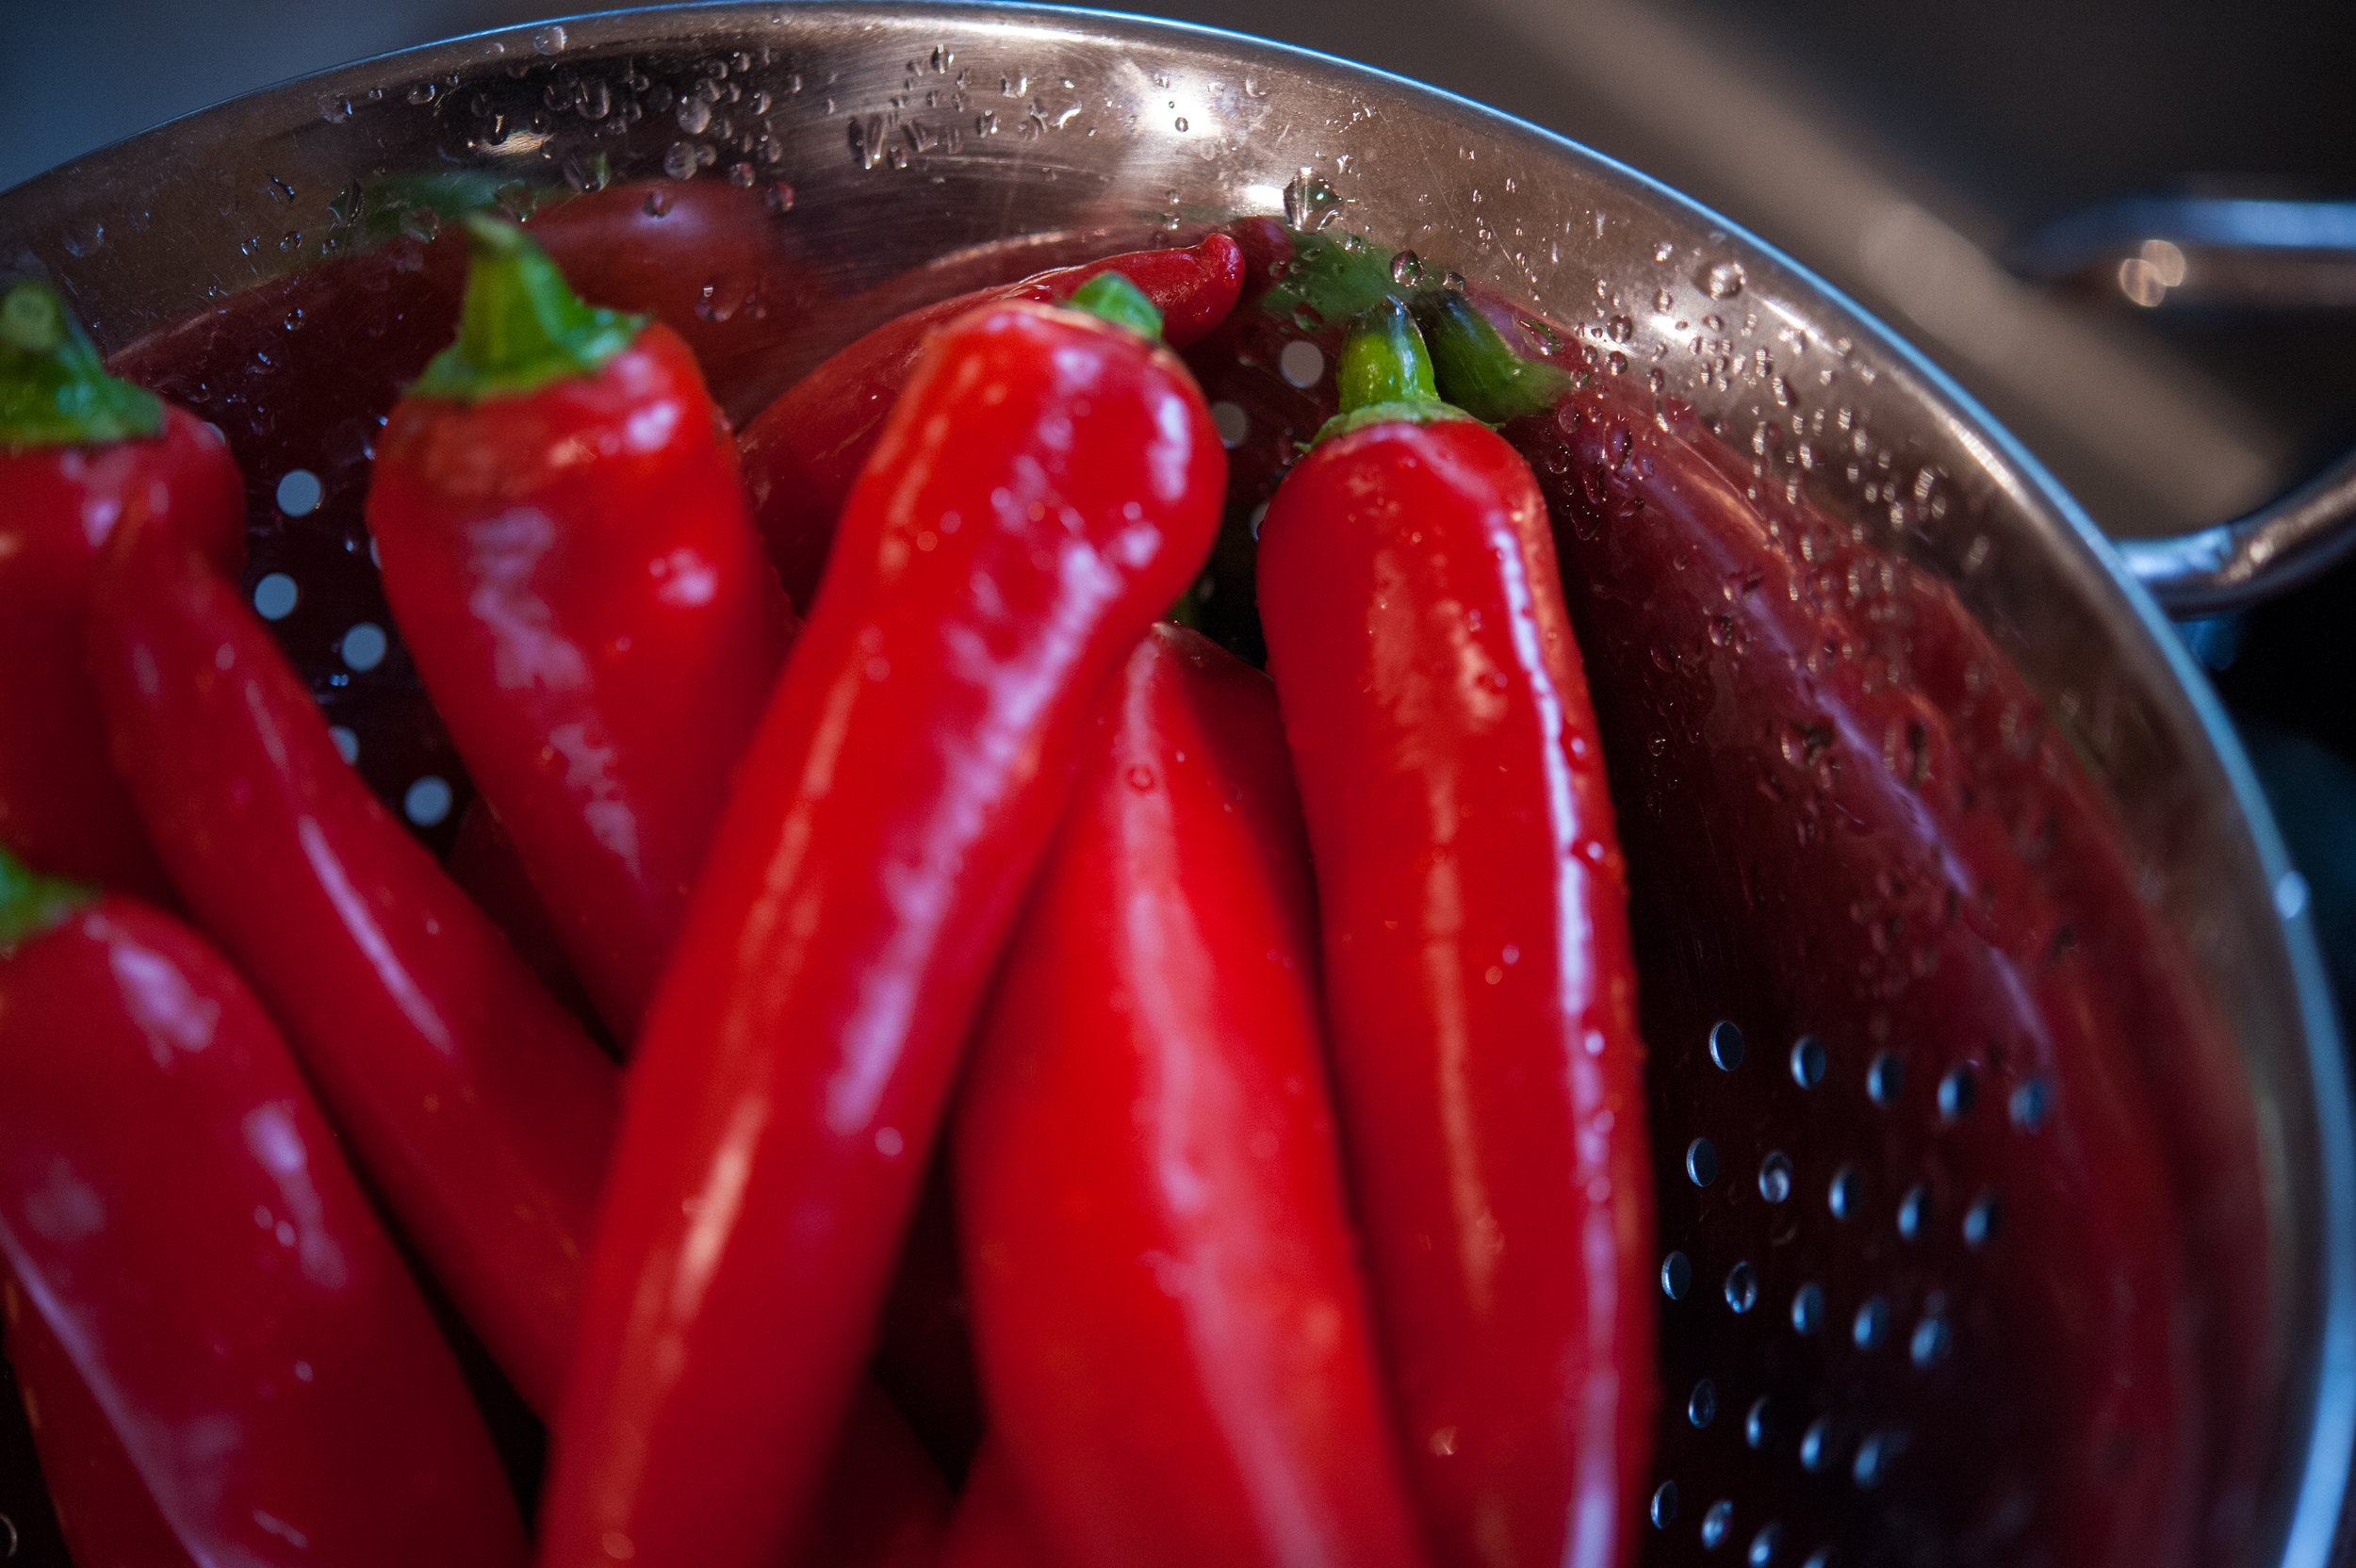
I like all sorts of salt-cured things: salmon, lemons, capers, olives, and oranges. There is something about salt that pulls out the essence of whatever it's mixed with -- kind like a good editor when you're a first-time cookbook author and you tend towards wordy manifestos! Anyway, I decided to see what salt would bring forth from a pile of hot peppers and I wasn't disappointed. These peppers are still relatively crunchy and add a nice salty heat to anything you think needs a little oomph. Unless you're seriously deficient in sodium, I'd give them a quick rinse before you eat them -- salt, while good at highlighting flavors, can stage a hostile takeover of your meal if you aren't careful! 

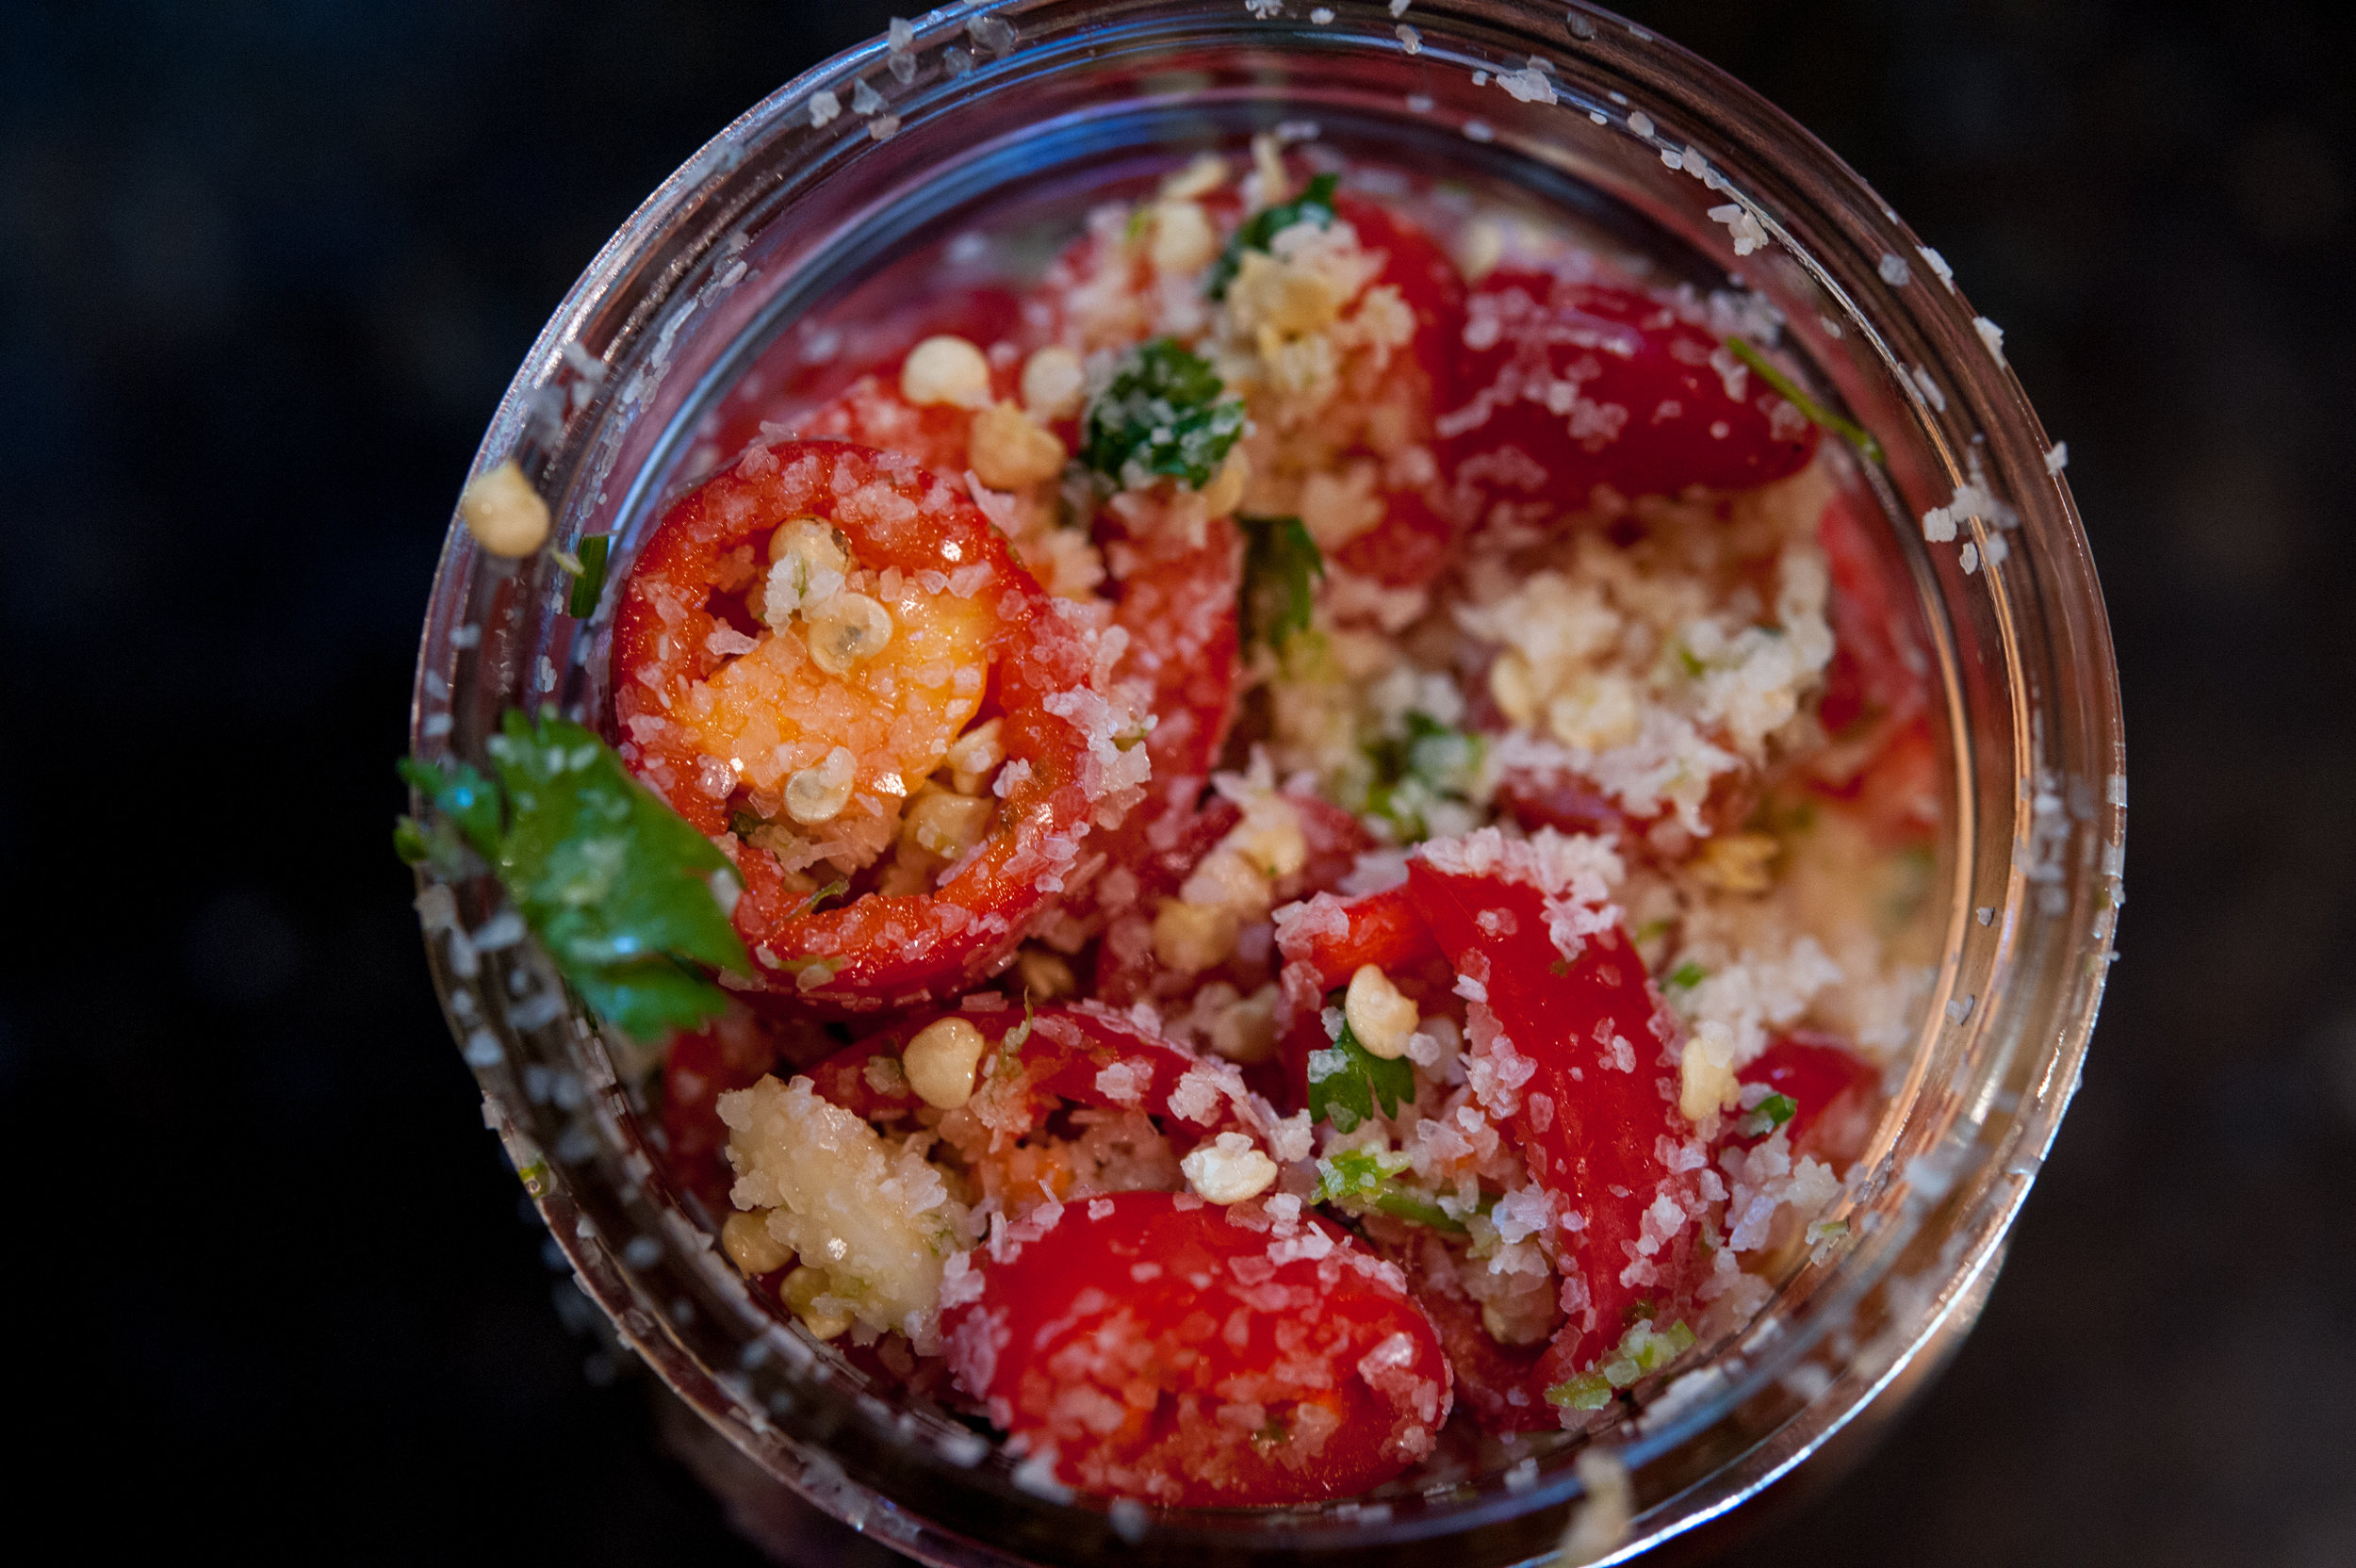
Salt Cured Pepper with Lime and Cilantro

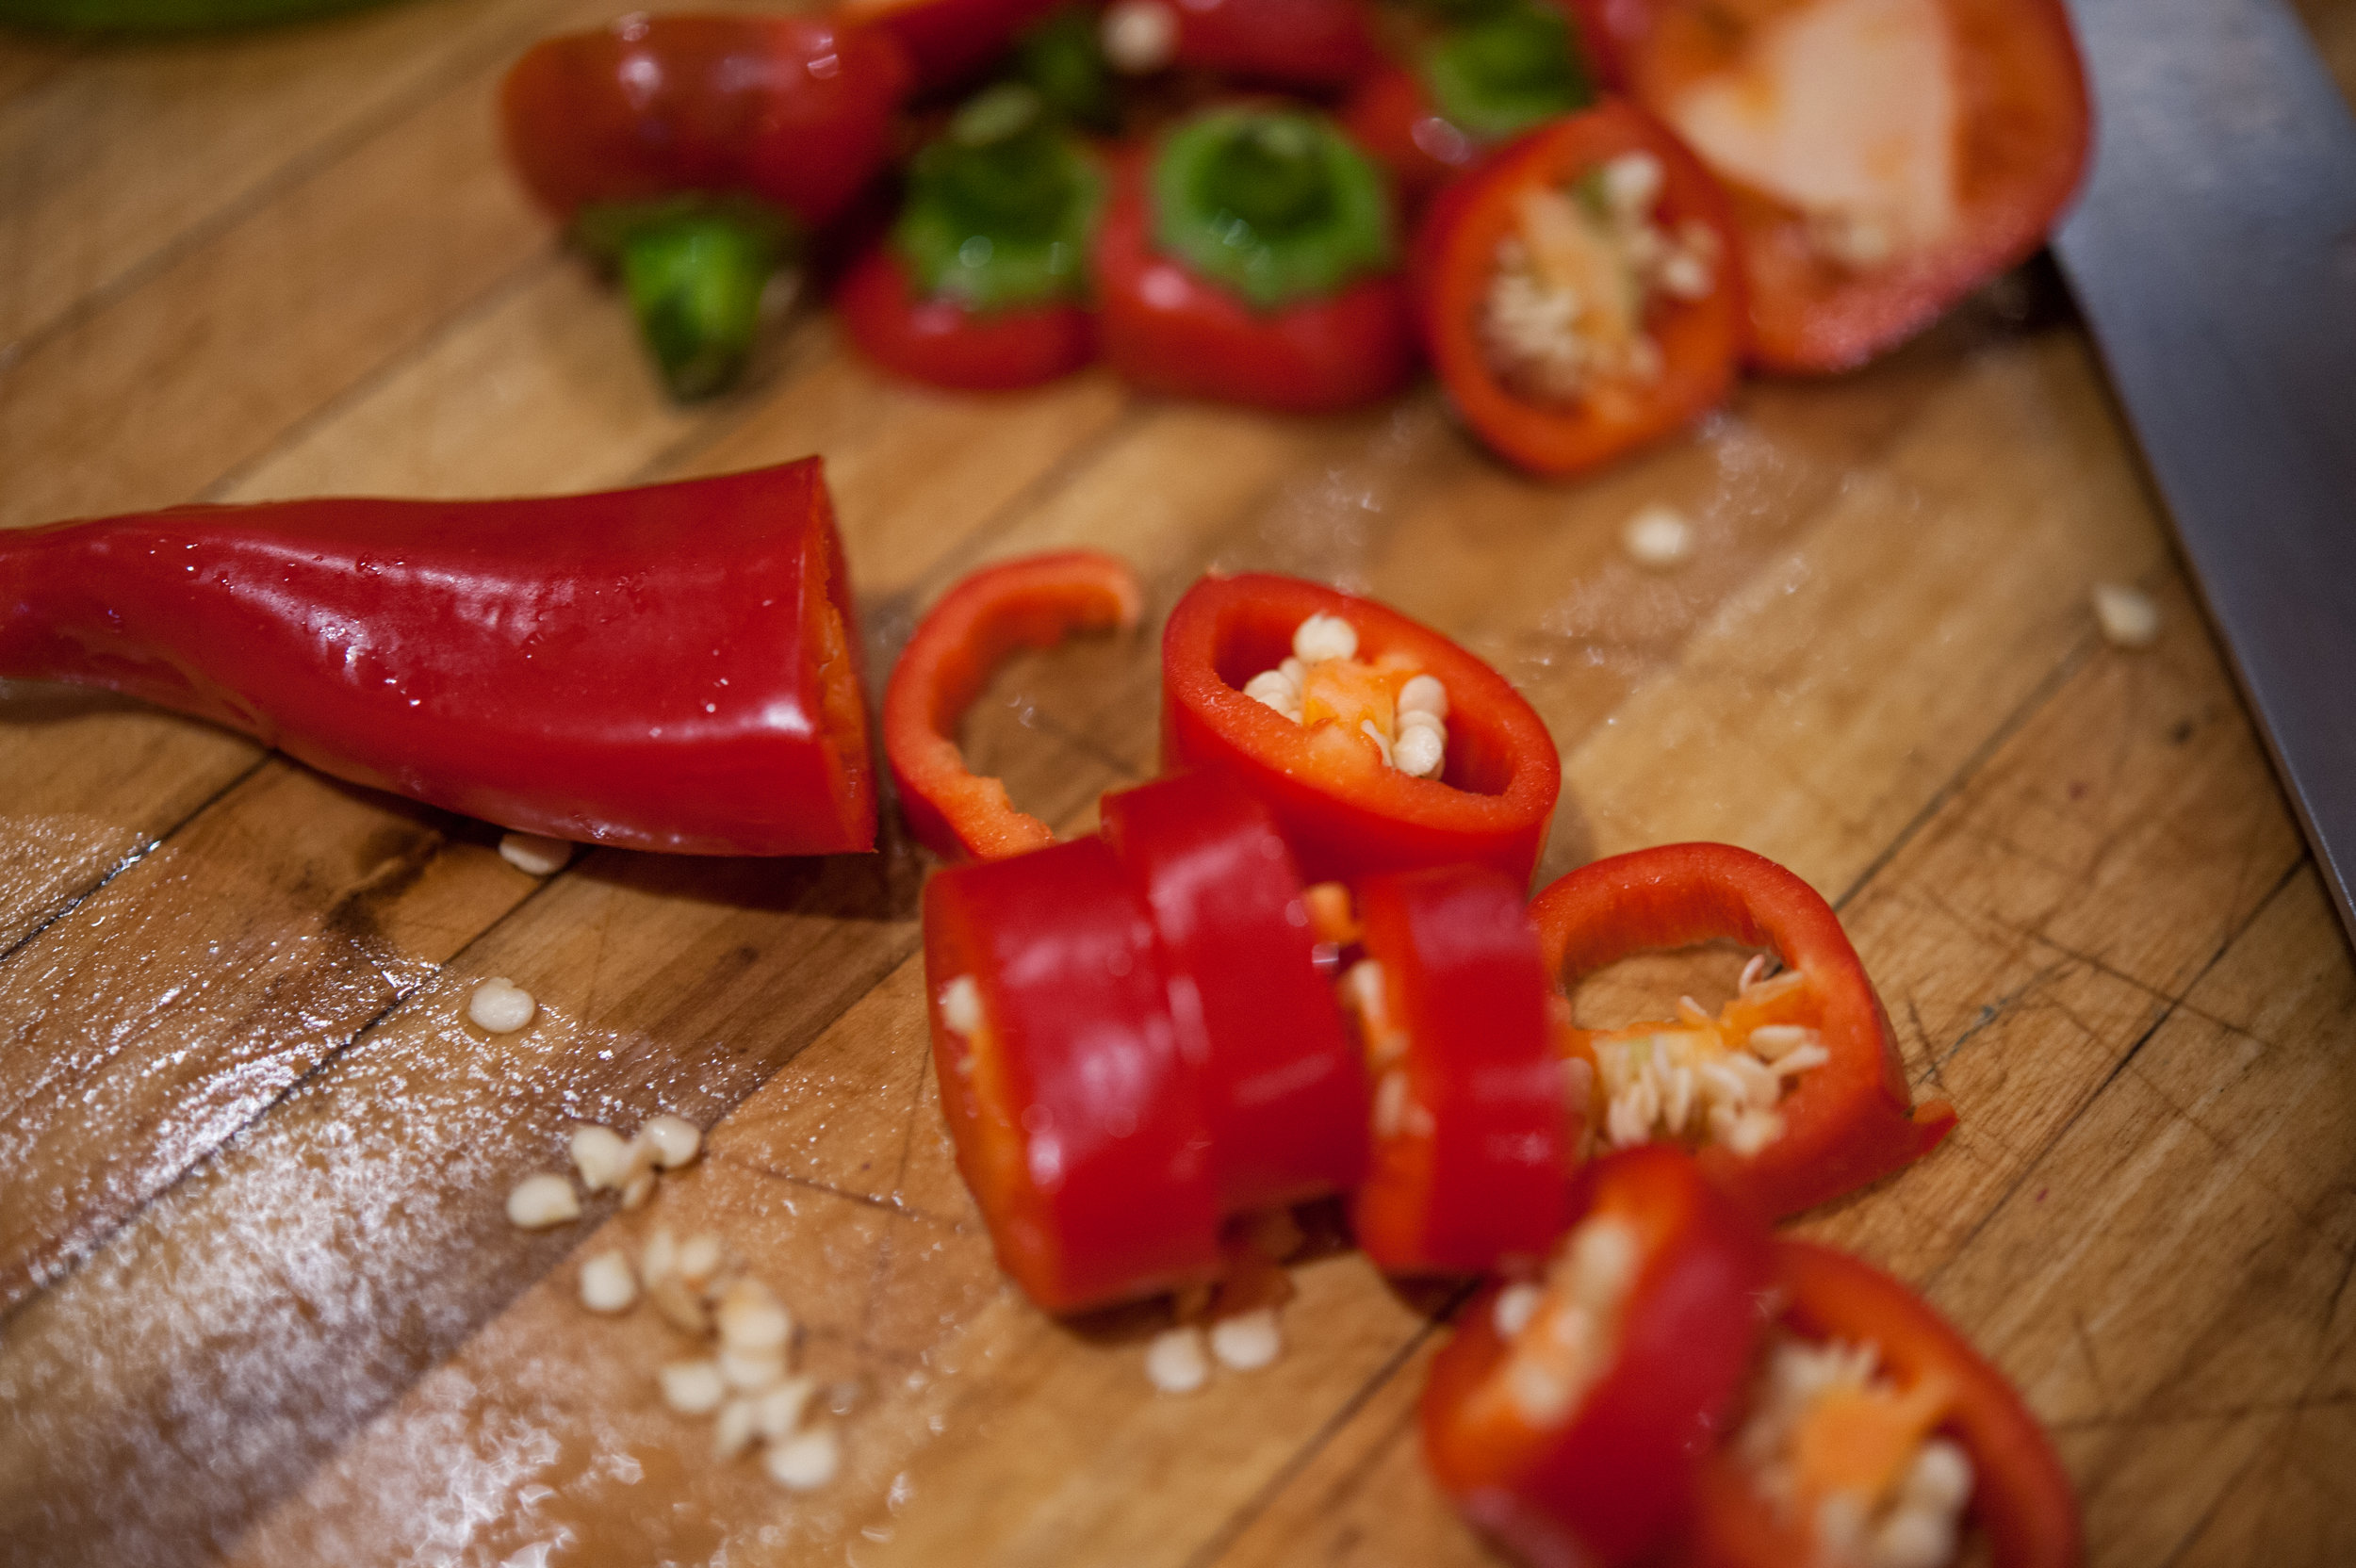
1 pound hot peppers with seeds, washed and sliced
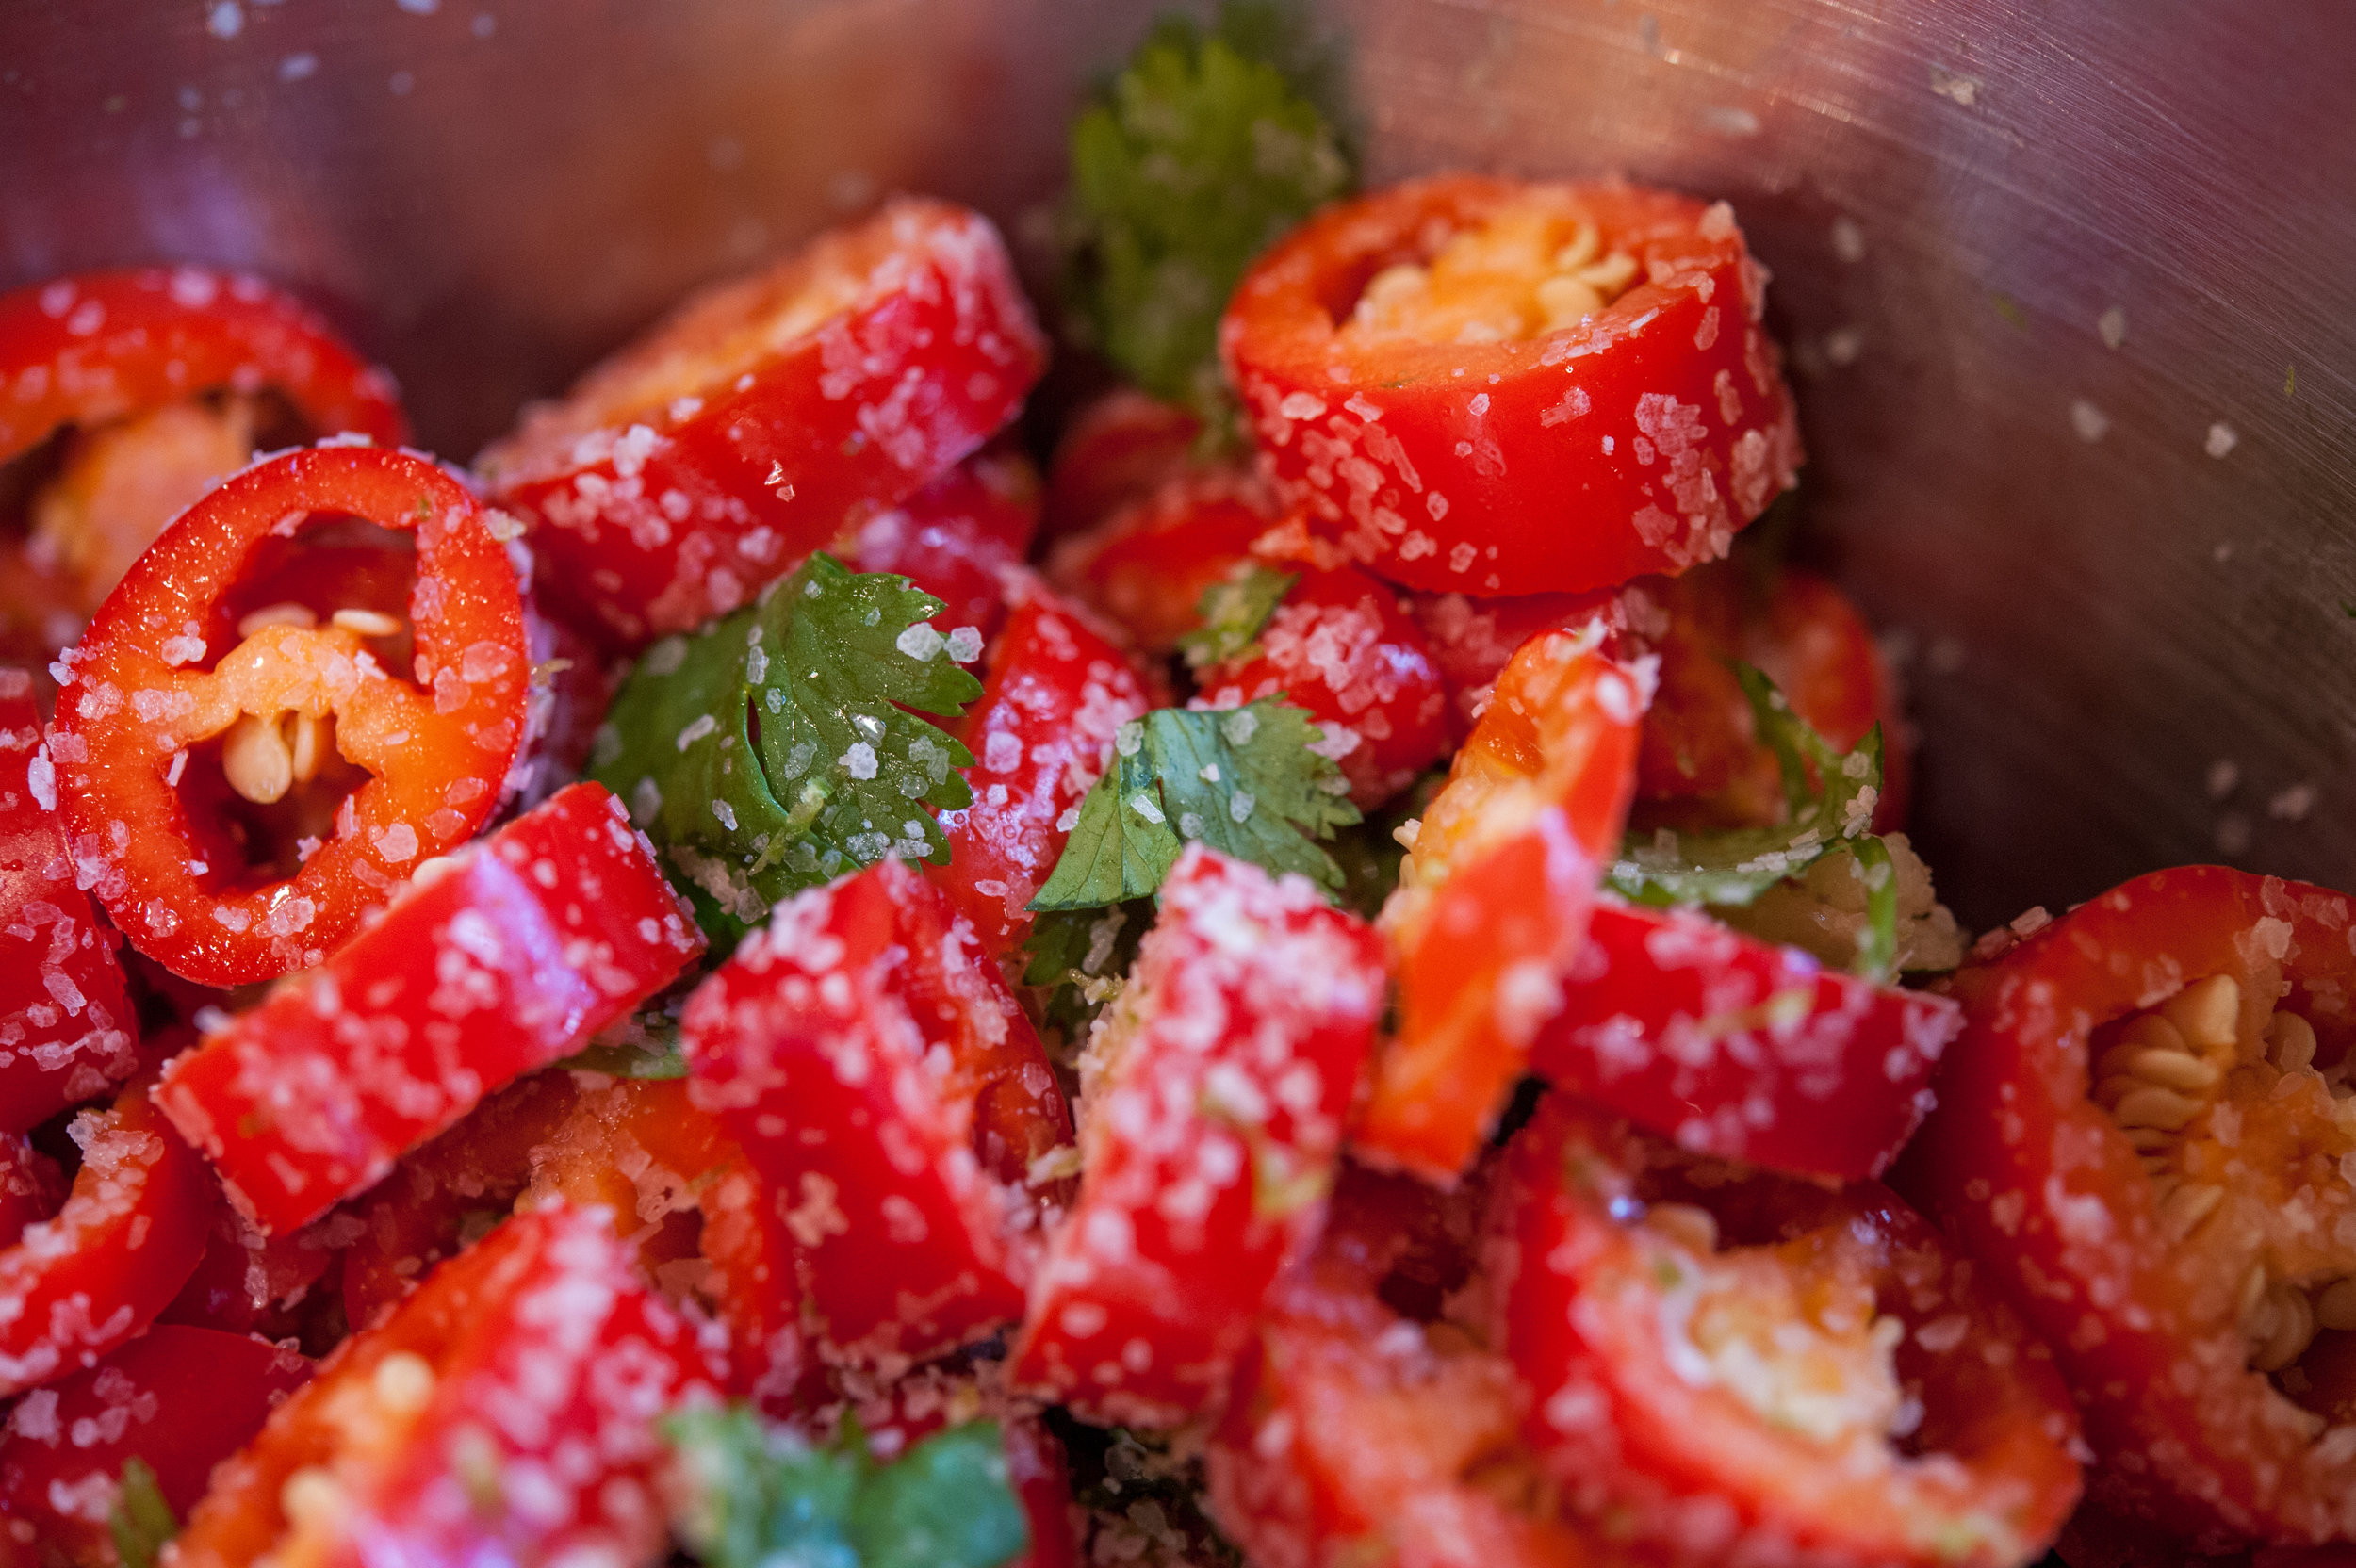
1/2 cup kosher salt
1/4 cup cilantro, chopped
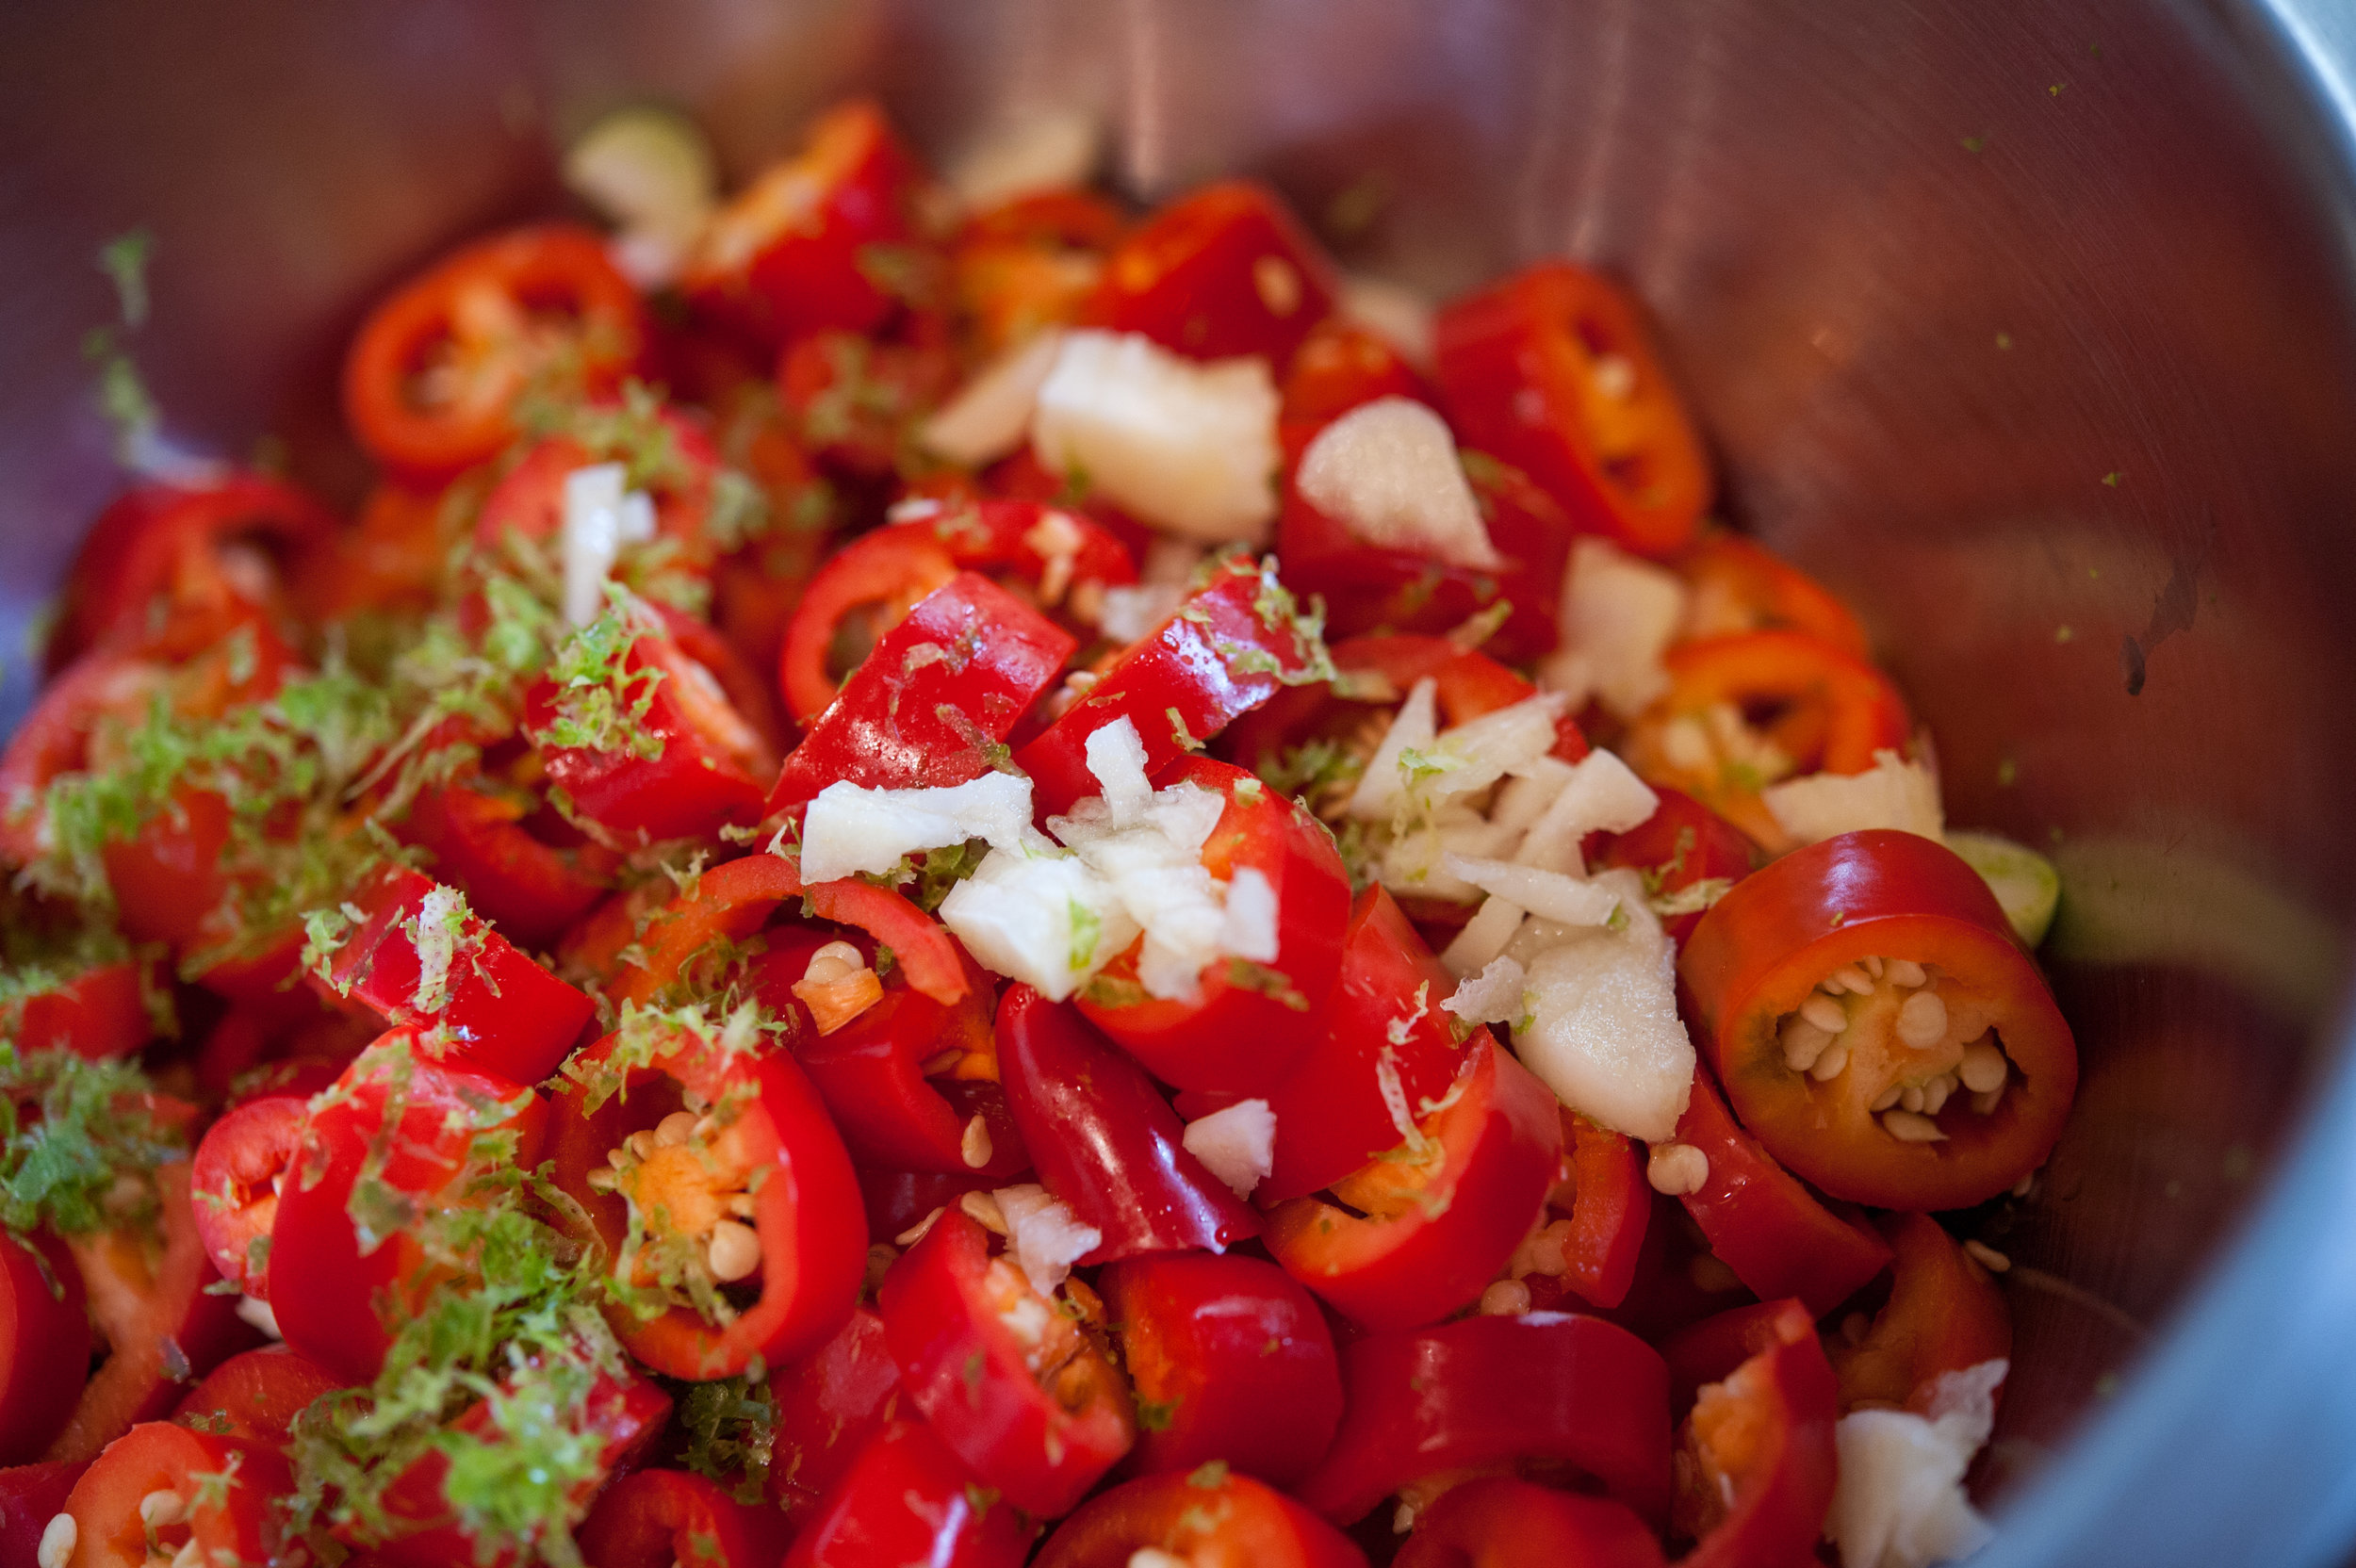
1 garlic clove, rough chopped
1 lime, zested

Preparation 
Place all ingredients in a bowl and mix to combine. Place in a 1-quart canning jar and cover. Give it a couple good shakes to make sure everything is evenly distributed and then set in a cool and dark place in your kitchen for a week, shaking every day. The salt will pull a lot of the moisture out of the peppers and you'll a salty, peppery 'brine' -- this is a good thing. At the end of the week, place in the refrigerator and use within 6 months. 

Chocolate Cake?? Yes Please!

So, I bet you're wondering why I have a picture of Aldo followed by a picture of grated butter leading off a blog post about chocolate cake. Well, grated butter is an emergency measure when your dog (Aldo) decides to eat the butter you had on the counter for the cake you wanted to make.

I didn't think it was possible to have two dogs who bring food sourcing to the level of an Ocean's 11/12/13 movie but we've managed to do just that. George and Aldo are remarkably resourceful when it comes to counter-surfing and if I'm not on my game (or they aren't sequestered), everything is up for grabs. And grating butter is a good tool to have in your back pocket when you have a hard stick of butter and a serious hankering for chocolate cake! 

Buttermilk Chocolate Cake

1 1/2 cups granulated sugar
1 1/2 cups all-purpose flour
1/2 cup (1 stick) butter, room temperature
1/2 cup cocoa powder
1/2 cup buttermilk
1/2 cup coffee, brewed
3 eggs
2 tablespoons vanilla
1 teaspoon baking soda
1/2 teaspoon salt
1/4 teaspoon baking powder
1/2 cup raspberry preserves, for the bottom layer of the cake
3 cups fresh raspberries, for the top of the cake

Frosting:
6 cups powdered sugar
3/4 cup cocoa powder
3/4 cup buttermilk
1/2 butter (1 stick) butter, room temperature
1 tablespoon vanilla

Preparation
Preheat oven to 350 degrees. Grease and flour two 9-inch round cake pans. 

Sift together the flour, cocoa powder, baking soda, baking powder, and salt in a bowl. Set aside.

In the bowl of a stand mixer, cream together the butter and sugar until light and fluffy. Add the eggs, one at a time, to the butter/sugar mixture until thoroughly combined. Mix the coffee and buttermilk together in a bowl and set aside. 

With the mixer on low, add half the flour mixture to the butter mixture and combine. Then add all  the coffee/buttermilk mixture and mix thoroughly . Then add the rest of the flour mixture and beat on medium for about 2 minutes. Pour into your prepared cake pans and bake for 20-25 minutes, or until a toothpick comes out clean. 

Make the frosting: place sugar, cocoa powder, butter, and vanilla in the bowl of a stand mixer and bet on medium speed until combined. Add the buttermilk and beat until light and fluffy. Spread the raspberry preserves evenly on the bottom layer of the cake and then place the remaining layer on top. Frost the entire cake and place the raspberries in a circle on the top of the cake.